Start quickly
Register, create your business, set permissions, and start billing in the same order most people need.
Find setup steps, billing guidance, staff management help, common questions, and video tutorials in one place.
Register, create your business, set permissions, and start billing in the same order most people need.
The page now explains what happens behind the scenes, such as sync, offline queueing, invoice sharing, and permission effects.
Most businesses follow the same setup path: create your account, register the business, add staff, decide permissions, build the price list, and then start creating invoices.
Complete account registration first, then business registration, then price list and staff setup. This avoids permission and access issues later.
Each topic explains what the user should do in the app, what happens after saving, and which behaviors are important for daily use.
Use the video links when you want to watch the exact screen flow for a topic in your language.
Most support questions are about staff invitations, missing permissions, price list sync, customer sharing, and invoice upload when the device is offline.
Use this page for setup steps, practical notes, quick answers, and video walkthroughs.
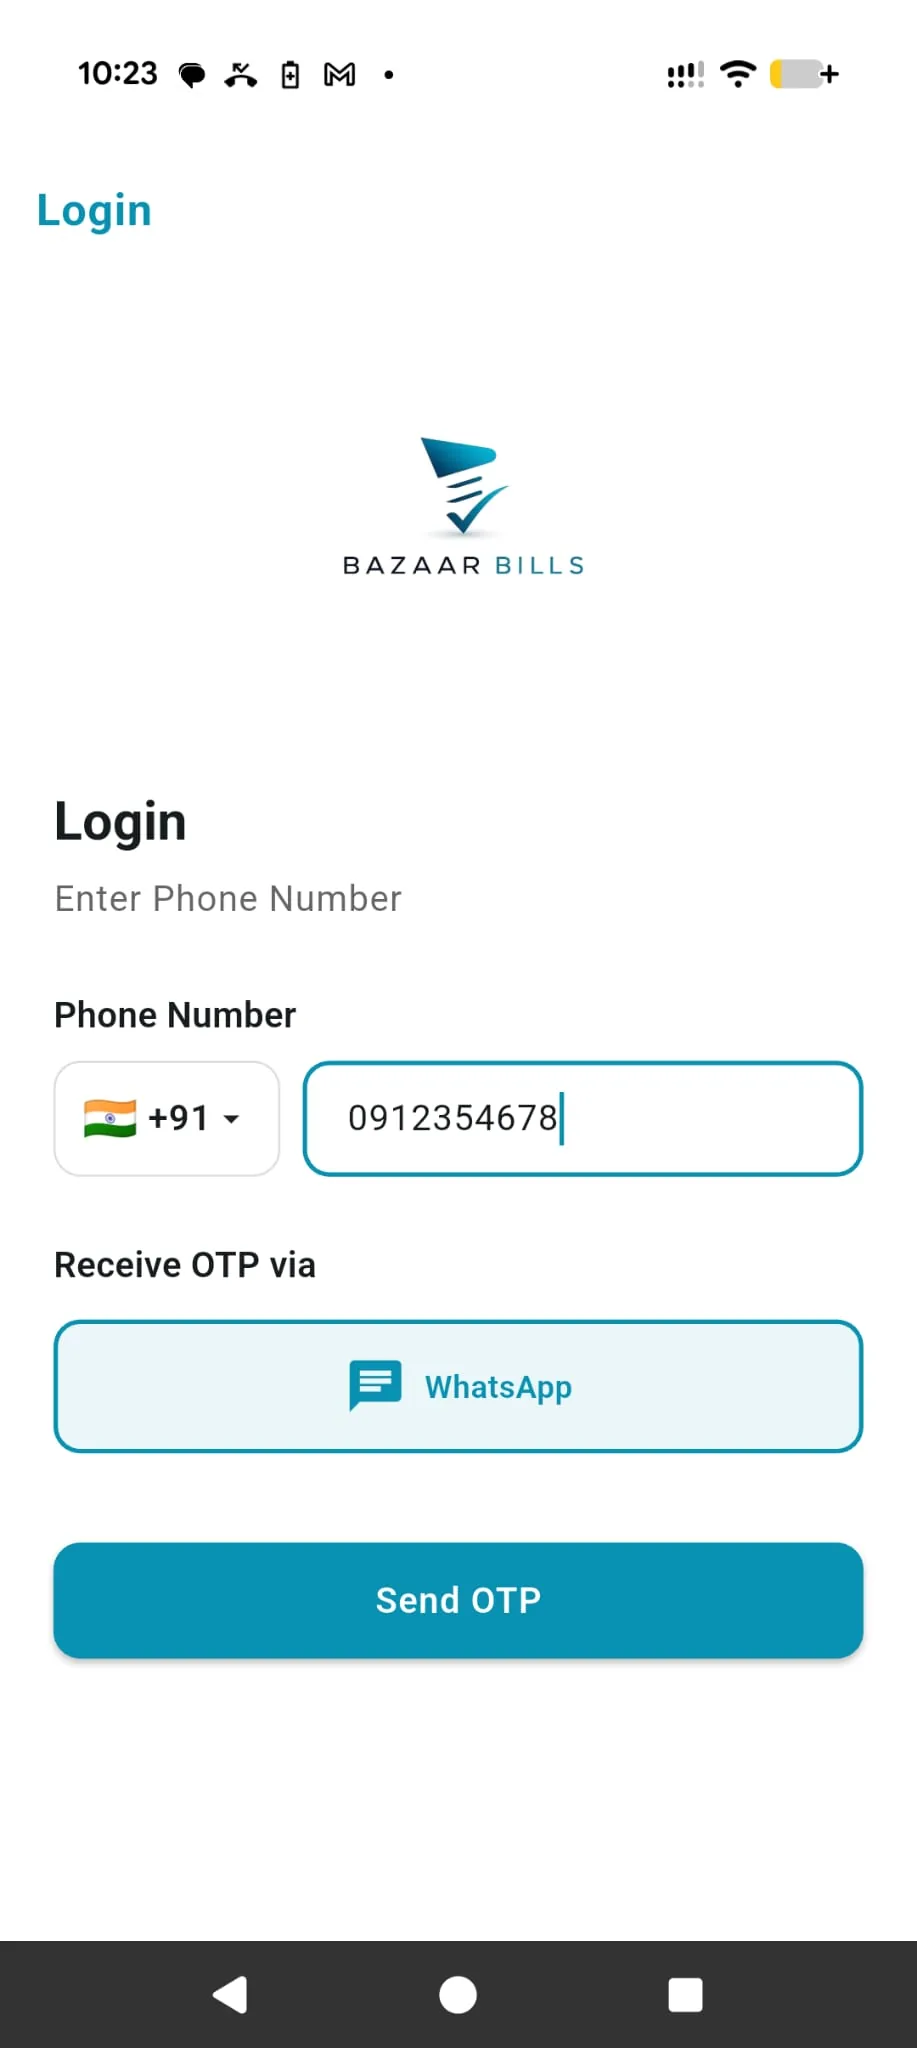
Start with your own mobile number, complete OTP verification, and finish your basic profile details before using customer or business features.
Select your preferred app language, enter your mobile number, and continue with the secure OTP flow.
Enter the one-time password correctly. Until OTP verification succeeds, the account setup is not complete.
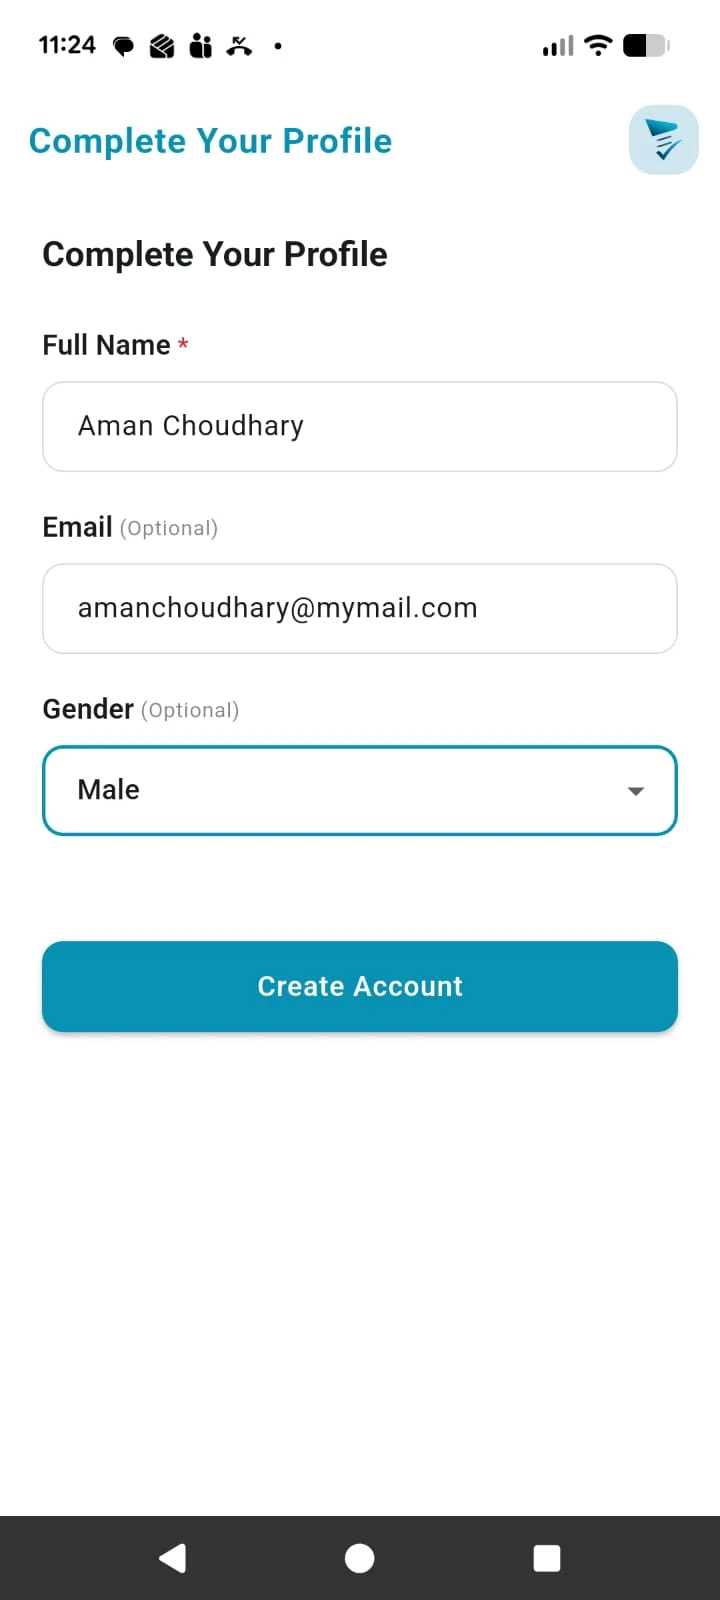
Add your name and basic profile details. This prepares the account for receiving invoices, registering a business, or working with a business later.
Each person should use their own number instead of sharing a login. It keeps notifications, received invoices, and business access correct for every user.
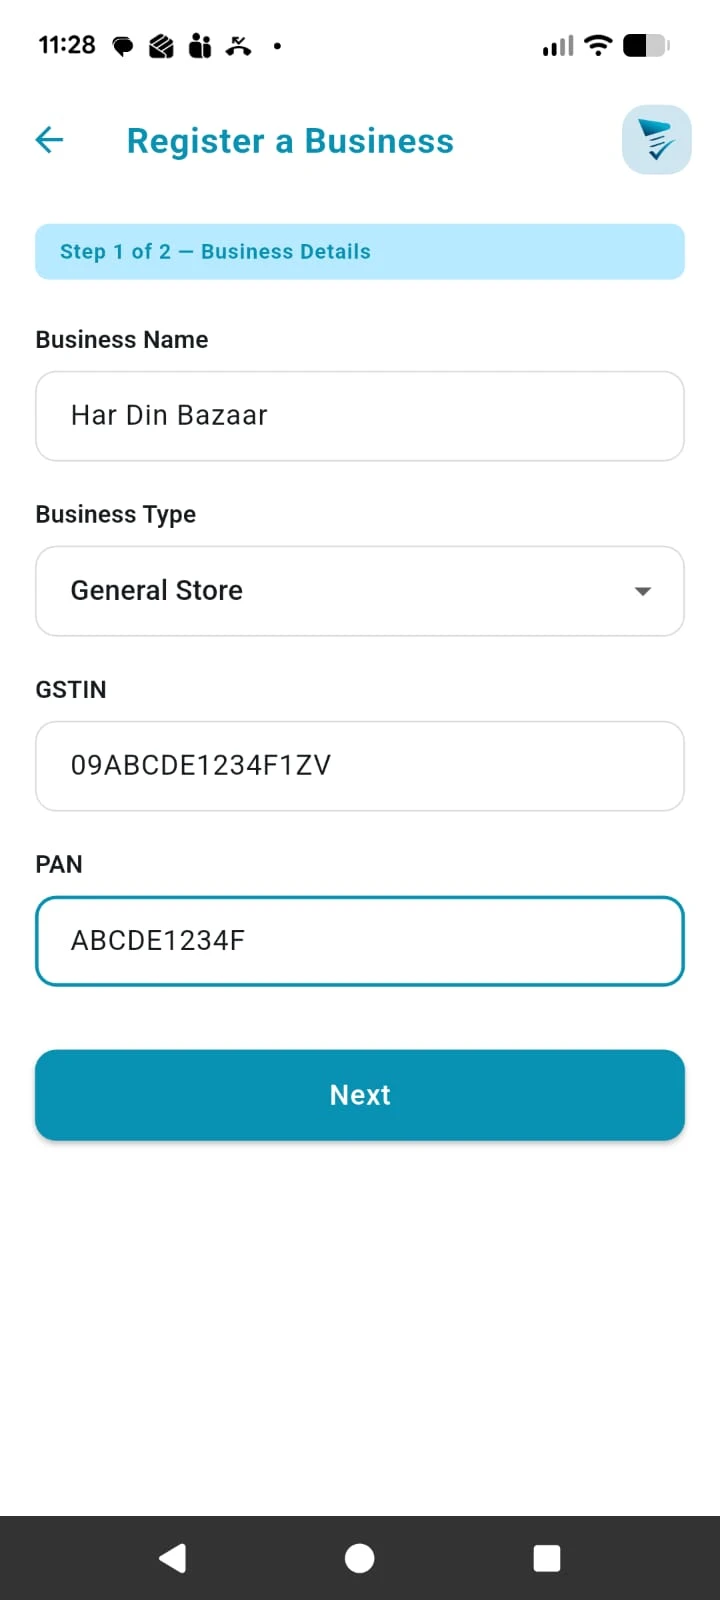
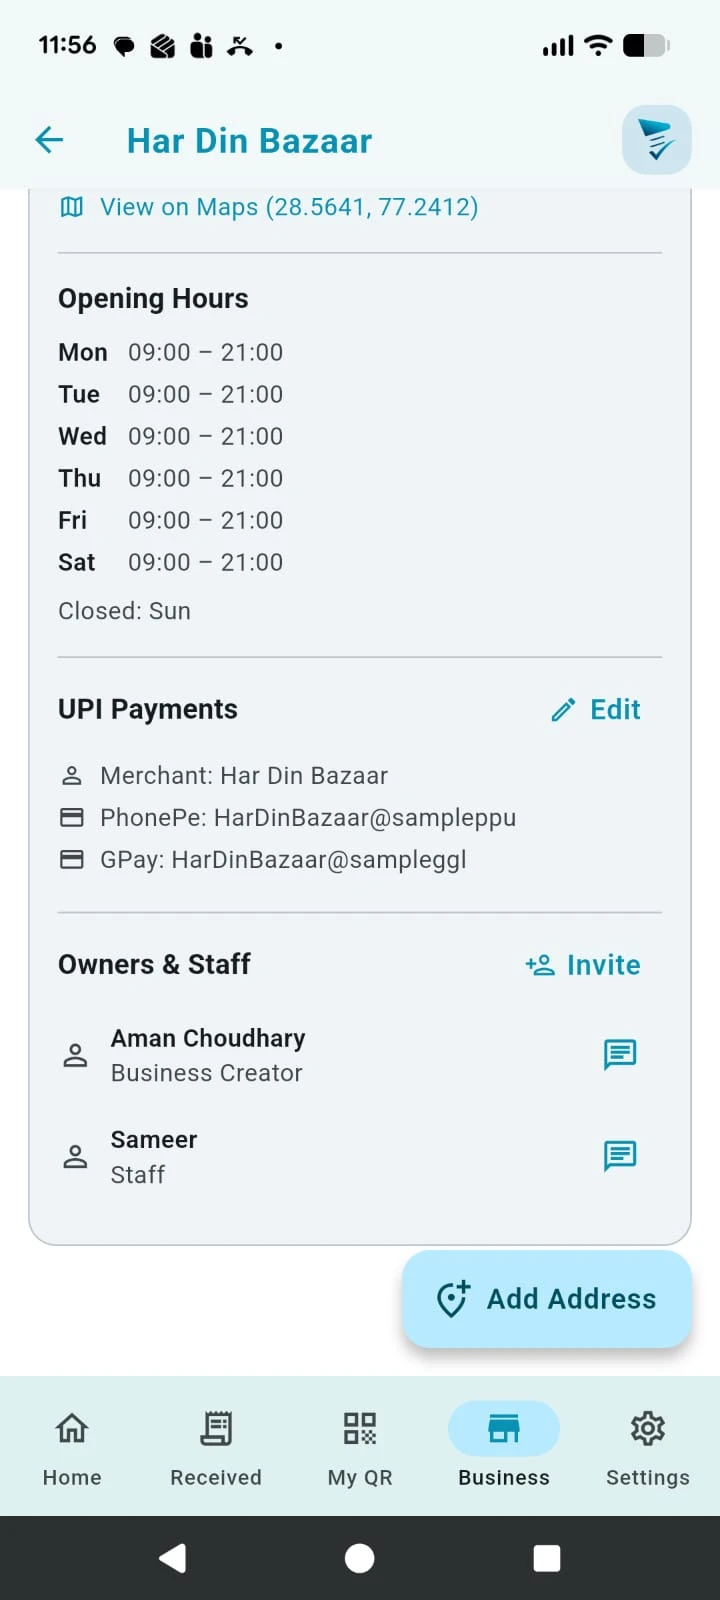
Create the business address that your team will use for invoicing, price list management, UPI setup, and staff access.
Enter the business name, address, and contact details for the location you want to manage.
Add the tax information and other address-level details that should default when invoices are created.
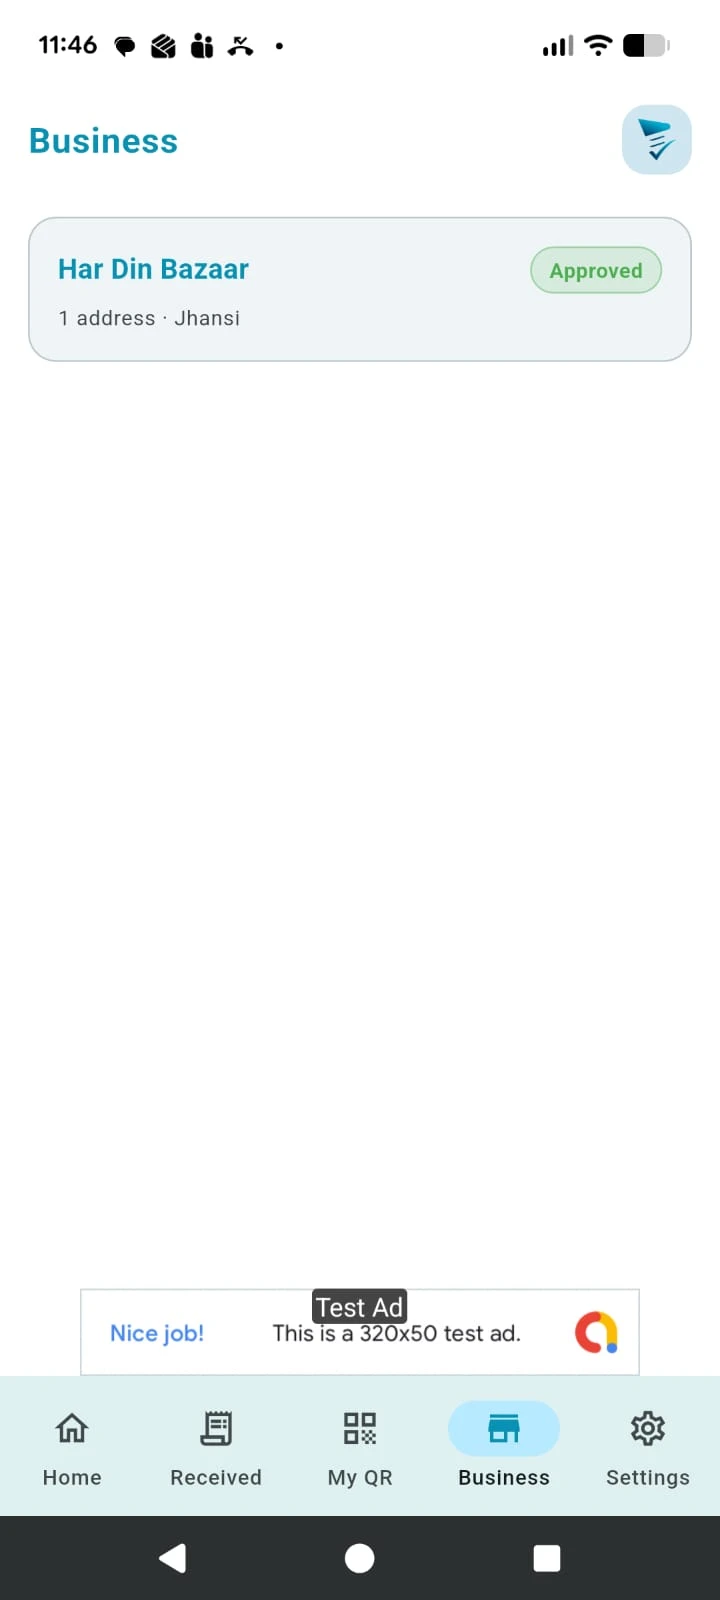
After submitting the business, Bazaar Bills reviews the details before the address becomes ready for live setup and billing.
Once approved, the address becomes ready for actions like UPI setup, staff management, price list creation, and invoice work.
Add staff members to a business address, assign permissions, and update or remove access whenever needed.
Only a user with Add or Edit Staff permission can invite, edit, or remove staff members.
Enter the phone number of the person you want to add and assign the permissions that match their role.
The invited person must already have a Bazaar Bills account. Ask them to register first if they are new.
The invited person receives a notification and can access the business only after accepting the invitation.
A staff member can work for more than one business and will see the Business tab after accepting an invite.
Open the staff member record any time to change permissions or remove that staff member from the address.
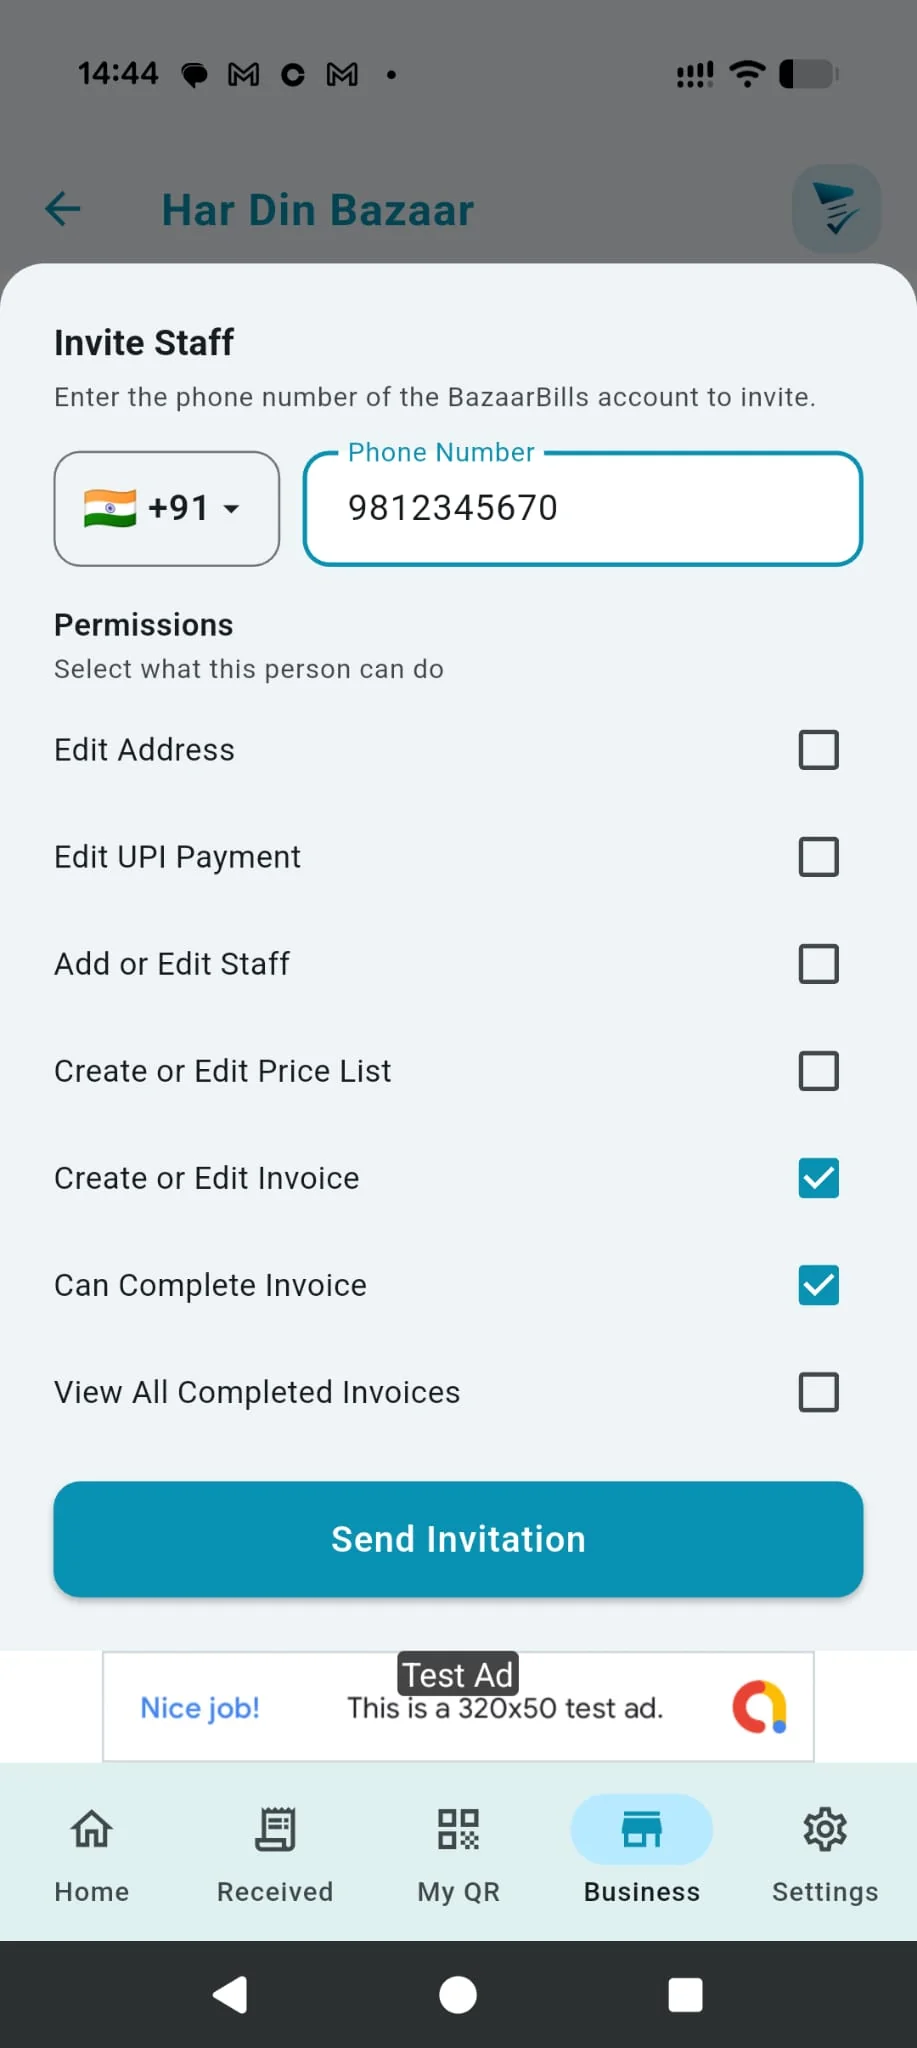
Permissions do more than hide or show screens. They decide which icons appear, which actions are active, and which completed invoices a staff member can see.
Without this permission, the edit pencil for business details is not shown. With it, the staff member can open and update the address details.
This controls whether the user can see and use the edit option for UPI payment setup for that business address.
This controls whether Invite Staff and staff editing actions are available. Without it, the staff management controls are hidden.
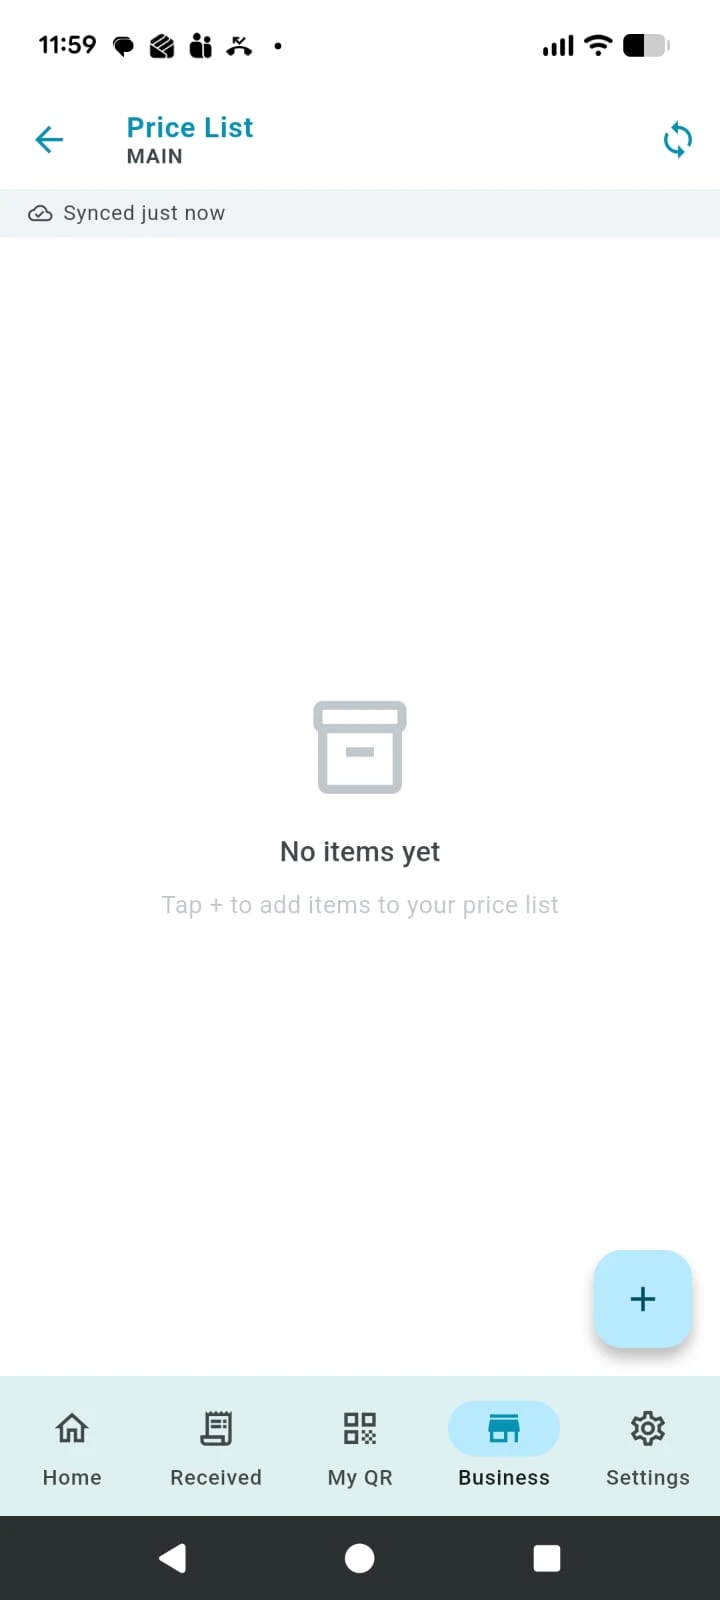
When this permission is disabled, the plus icon to add new price list items is not shown. Existing synced items can still remain visible on the device.
Create or Edit Invoice controls whether the New Invoice button is active. Can Complete Invoice separately controls whether the invoice can actually be finished.
Without this permission, staff can see only the completed invoices they created themselves. Draft invoices are still visible to everyone linked to the address.
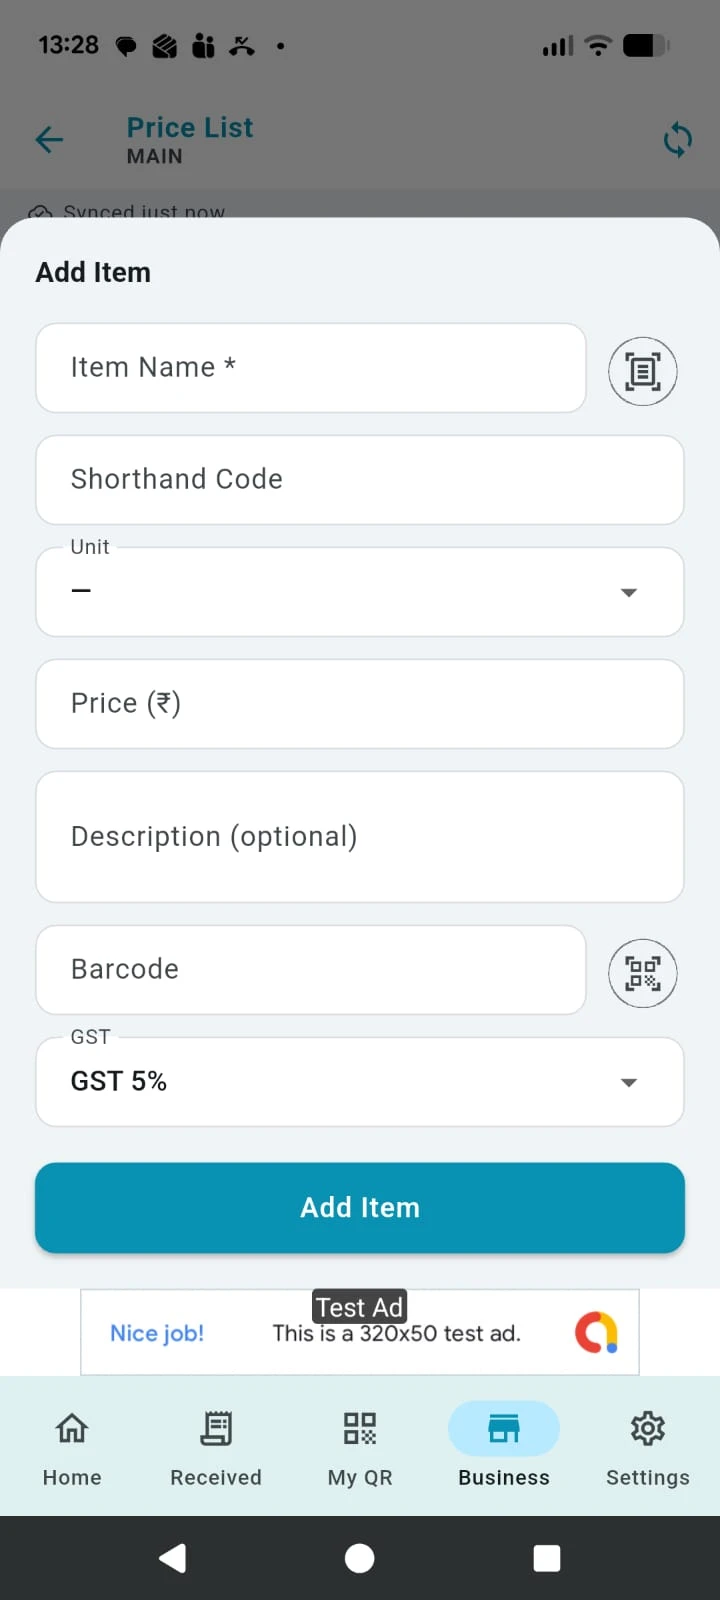
The price list makes invoice entry faster by storing reusable item details for the whole business address.
Store item name, shorthand code, unit, price, description, barcode, and GST so the item is ready for invoice entry.
The app searches both item name and shorthand code, which helps users find the right item quickly while creating an invoice.
Save the barcode with the item so the scanner can identify it faster later.
Items synchronise across all devices linked to the same address, and the app also stores them locally for quick use during billing.
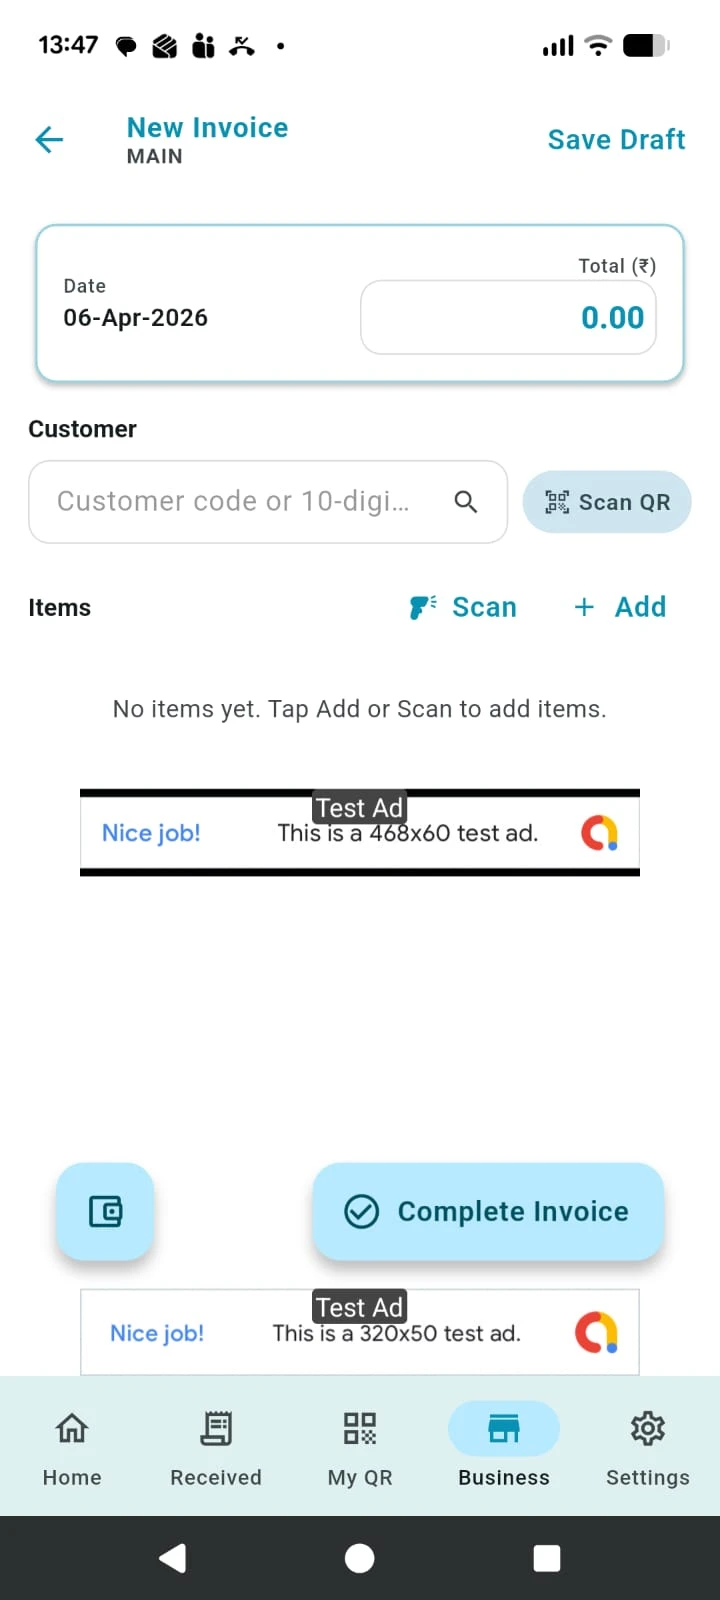
Invoice creation supports customer matching, barcode scanning, price list search, total adjustment, UPI QR payment, and delayed upload when the device is offline.
Use a Bazaar Bills share code when the customer already uses the app. Use a phone number when they do not. If left blank, the invoice is saved only against the business address.
The barcode scanner supports continuous scanning, so multiple items can be added without leaving scan mode when those items already exist in the price list.
Typing item description searches both the shorthand code and item name from the price list. If you do not choose a saved item, enter price, quantity, and GST manually.
GST defaults from the address setup. The invoice total updates automatically as lines change. If the total is adjusted, the app adds a Discount line to keep values aligned.
The Wallet area shows configured UPI methods. When a UPI QR is generated from the invoice screen, it includes the invoice total amount.
If the device is offline, the invoice stays queued until internet returns. After upload, the server assigns a unique invoice number and sends the invoice or notification to the customer if details were entered.

You need Add or Edit Staff permission, and the person you want to invite must already have a Bazaar Bills account.
They must accept the invitation first. After acceptance, the Business tab becomes available for that assigned address.
Check the staff permissions. Create or Edit Invoice controls starting an invoice, and Can Complete Invoice controls finishing it.
Yes. Price list items synchronise across all devices connected to the same business address.
The invoice is queued on the device and uploads automatically when internet is available again.
Open the matching topic above first, then use the support option below if you still need assistance.