👤 Customer help
Everything a customer needs to use Bazaar Bills with confidence.
Register with your phone number, show your QR to a participating business, and receive invoices digitally in one simple app experience.
Register with your phone number, show your QR to a participating business, and receive invoices digitally in one simple app experience.
Most customers only need to complete three basic steps to start receiving digital invoices.
Enter your mobile number, validate the OTP, and complete your profile if you are a new user.
Open your share QR and let the business scan it. This links the invoice to you without exposing your phone number or name.
Invoices recorded by Bazaar Bills businesses appear in your Received Invoices section for easy review later.
These screens cover customer registration, secure sharing, and invoice receipt.
Includes Register or Login, Validate OTP, and Enter User Details.
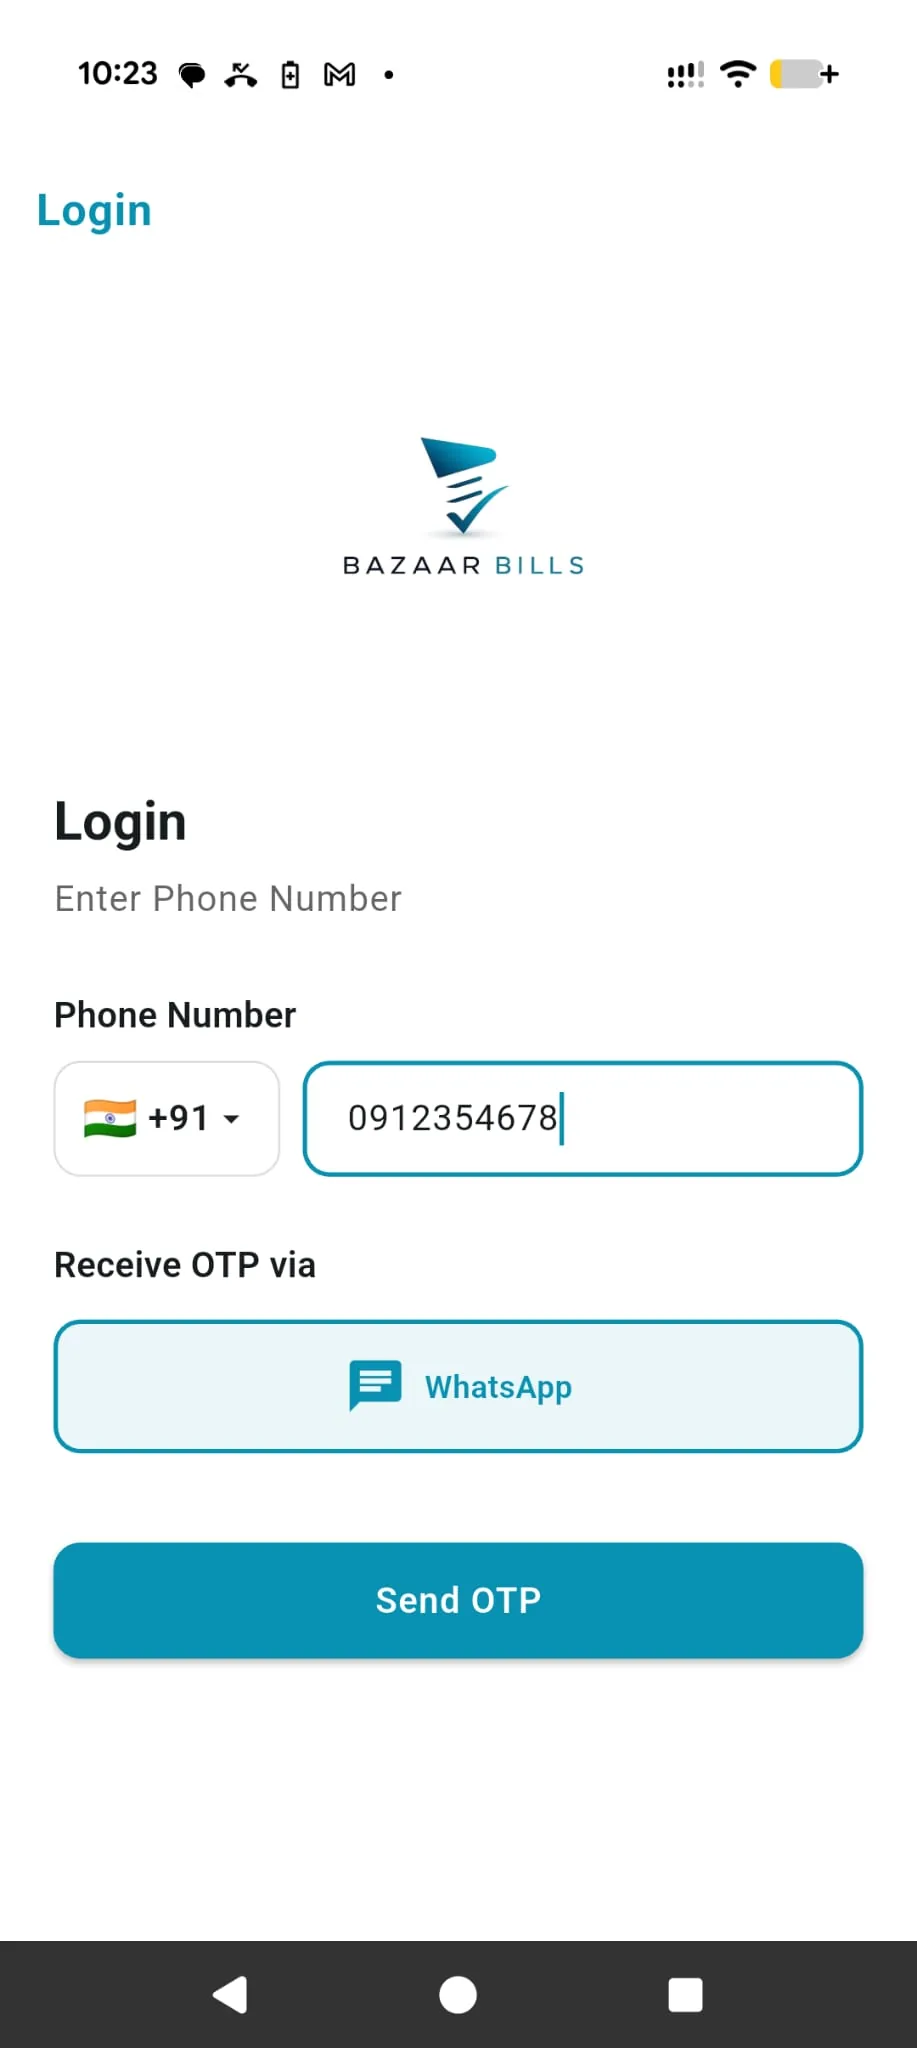
Register or LoginThis screen is shown when the user is not logged in. Enter your mobile number to sign in or create an account.
Select the country code first, then enter the mobile number that will be used for login and for receiving invoices in Bazaar Bills.
OTP will be sent using WhatsApp. Keep WhatsApp available on the same number to continue.
Tap Send OTP after entering the phone number correctly.
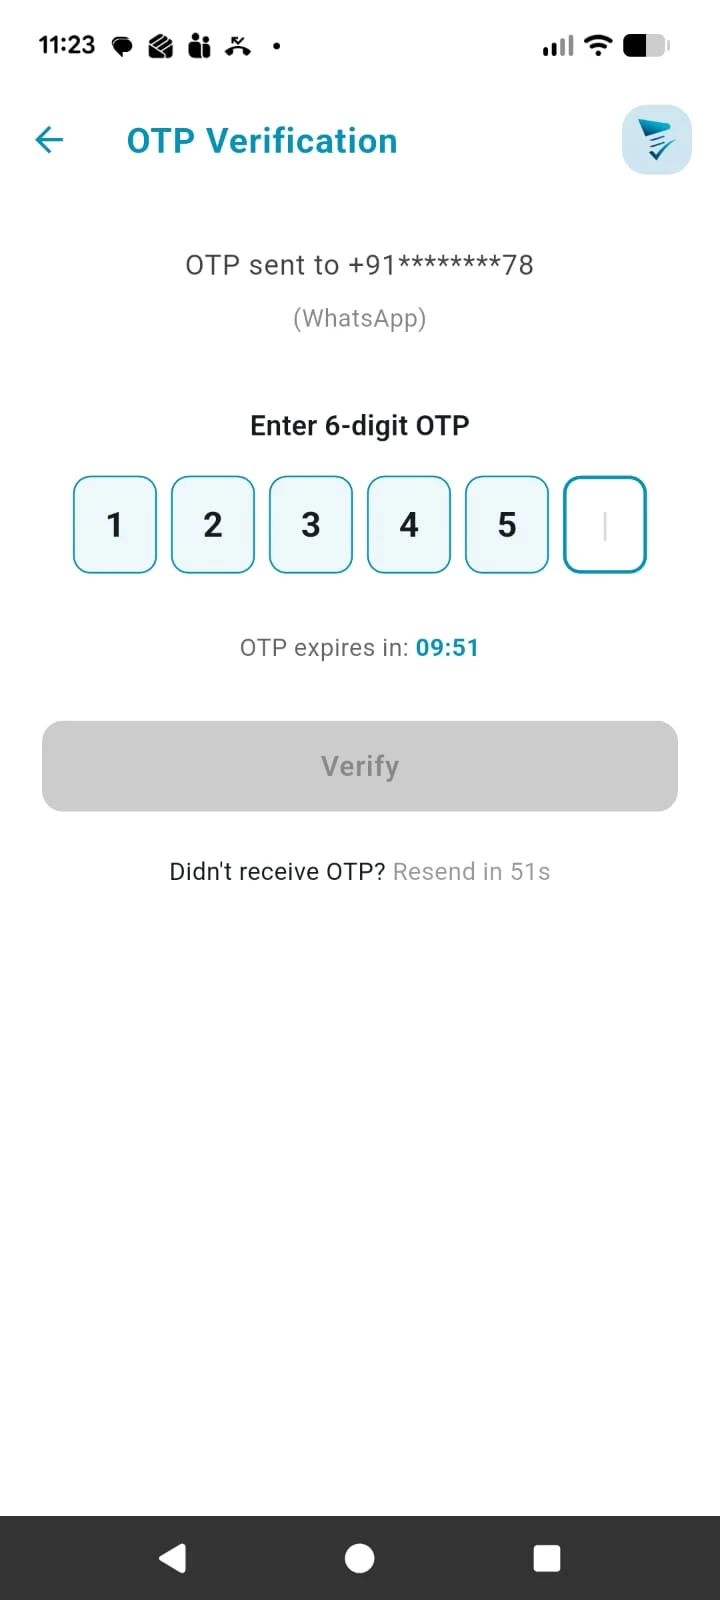
Validate OTPThis screen confirms that the mobile number belongs to you. Enter the OTP received on WhatsApp to continue.
Enter the 6-digit OTP exactly as received on WhatsApp so the number can be verified successfully.
Tap Verify after all OTP digits are entered correctly.
Use resend OTP if the message is delayed or the earlier code has expired.
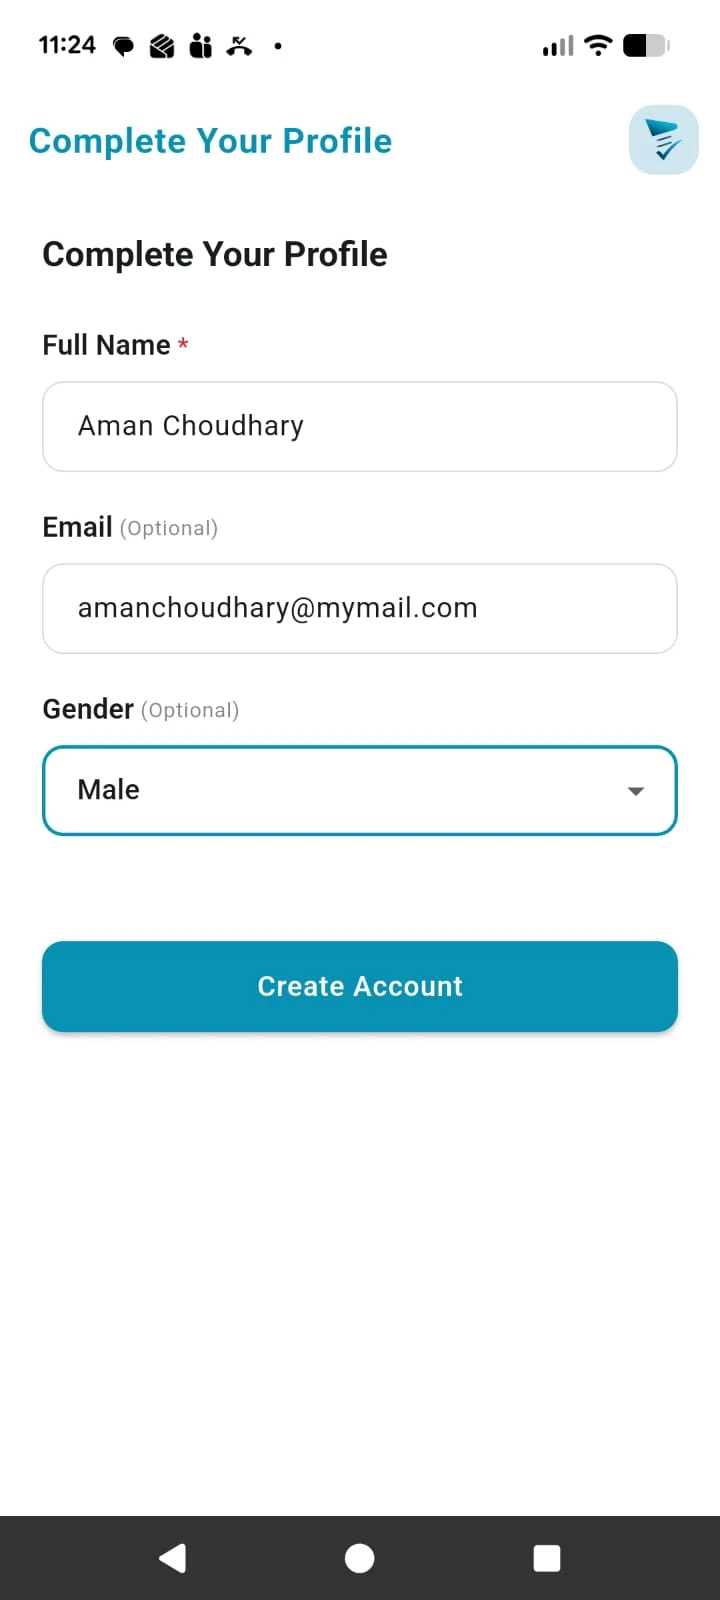 Enter User Details
This screen appears only during first time setup. Complete your basic profile so your account is ready to use. You can edit this information later from the Settings page.
Add your name. This information is displayed on the invoices.
Fill the required details shown on the form as part of your first time setup. You can edit them later from Settings.
Tap Create Account once the details are complete so your account can be created.
This step uses your Unique Share Code screen to privately connect the invoice to your account.
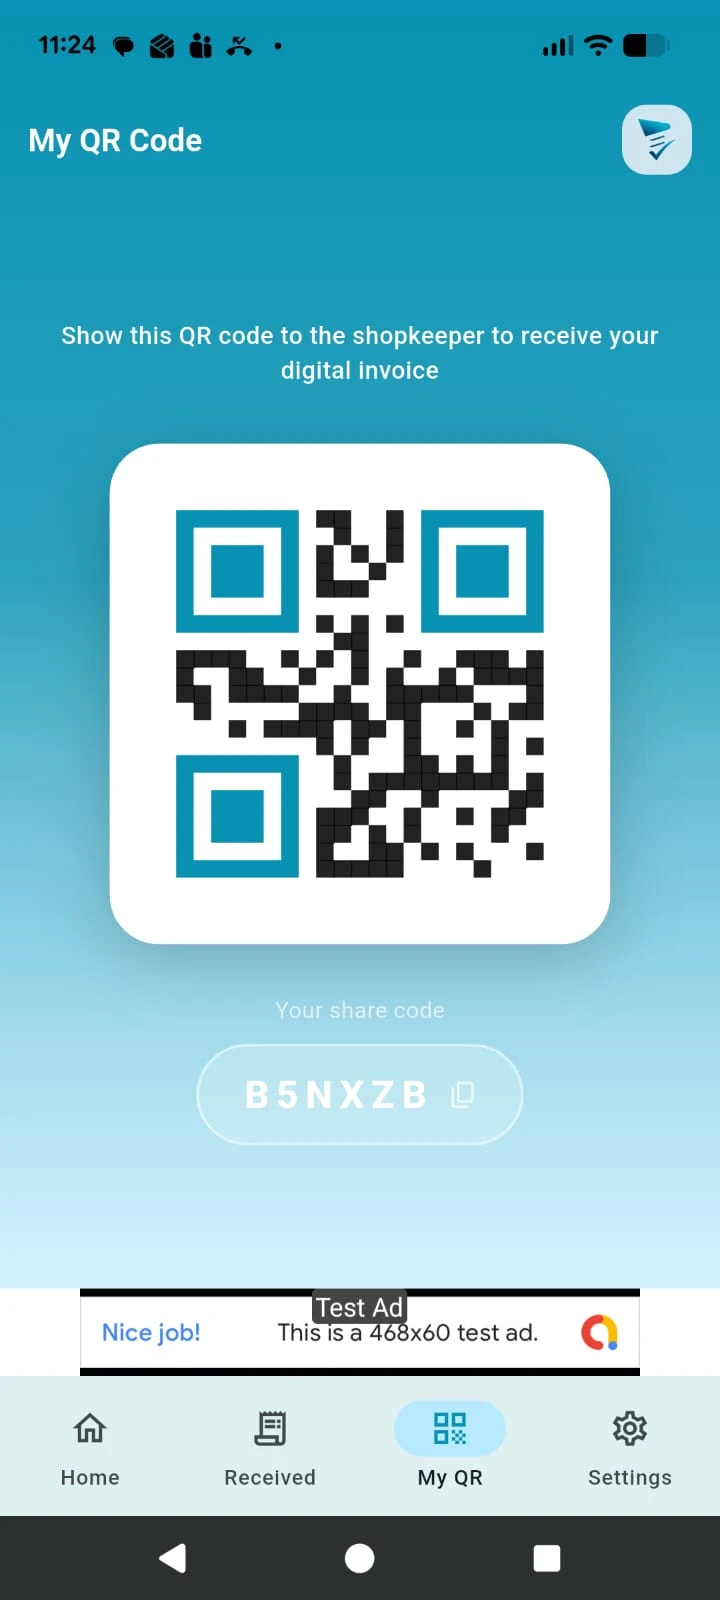
Unique Share CodeThis screen shows your share QR. Show this code to a business that uses Bazaar Bills so the invoice can be shared directly with your account.
The business scans this QR to send the invoice to your account instantly.
Your phone number and name are not shared with the business during the scan.
You can keep using the same customer code for future bills from participating businesses.
Showing the QR is quicker than dictating your number each time you shop.
Your invoice appears in Received Invoices after the business records and shares the bill.
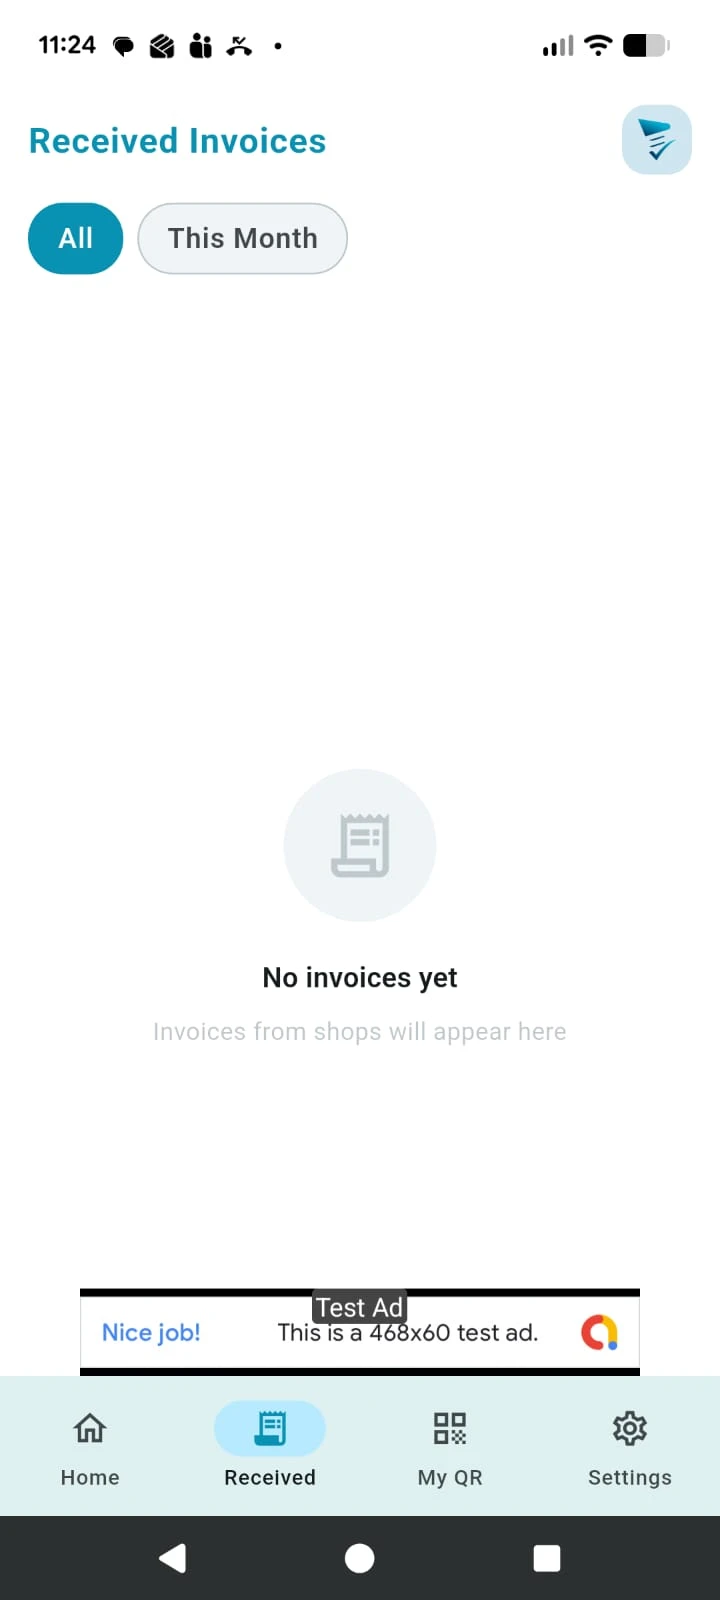
Received InvoicesThis screen displays invoices recorded by businesses using Bazaar Bills. Open any invoice to review bill details whenever required.
See invoices shared by businesses that have scanned your customer QR.
Tap an invoice to review item lines, totals, dates, and other bill information.
Filters such as current month help you find recent bills quickly.
Use this section as your organised invoice history instead of paper slips.