🏪 Business help
Everything a business needs to use Bazaar Bills with confidence.
Start with login or registration, then move into business registration, setup, price list creation, and invoice creation in one guided flow.
Start with login or registration, then move into business registration, setup, price list creation, and invoice creation in one guided flow.
Businesses move through five clear setup stages before they are ready to bill customers confidently.
Sign in with your mobile number, verify the OTP, and complete your profile if you are new.
Add your business so Bazaar Bills can identify your shop correctly.
Complete the core business setup that prepares your account for daily use.
Create your ready-to-use item list so billing is fast and consistent.
Record items, scan the customer QR, and complete invoices digitally.
These screens now cover all five business steps, from login to invoice completion.
This first step is the same as the customer login flow: Register or Login, Validate OTP, and Enter User Details.
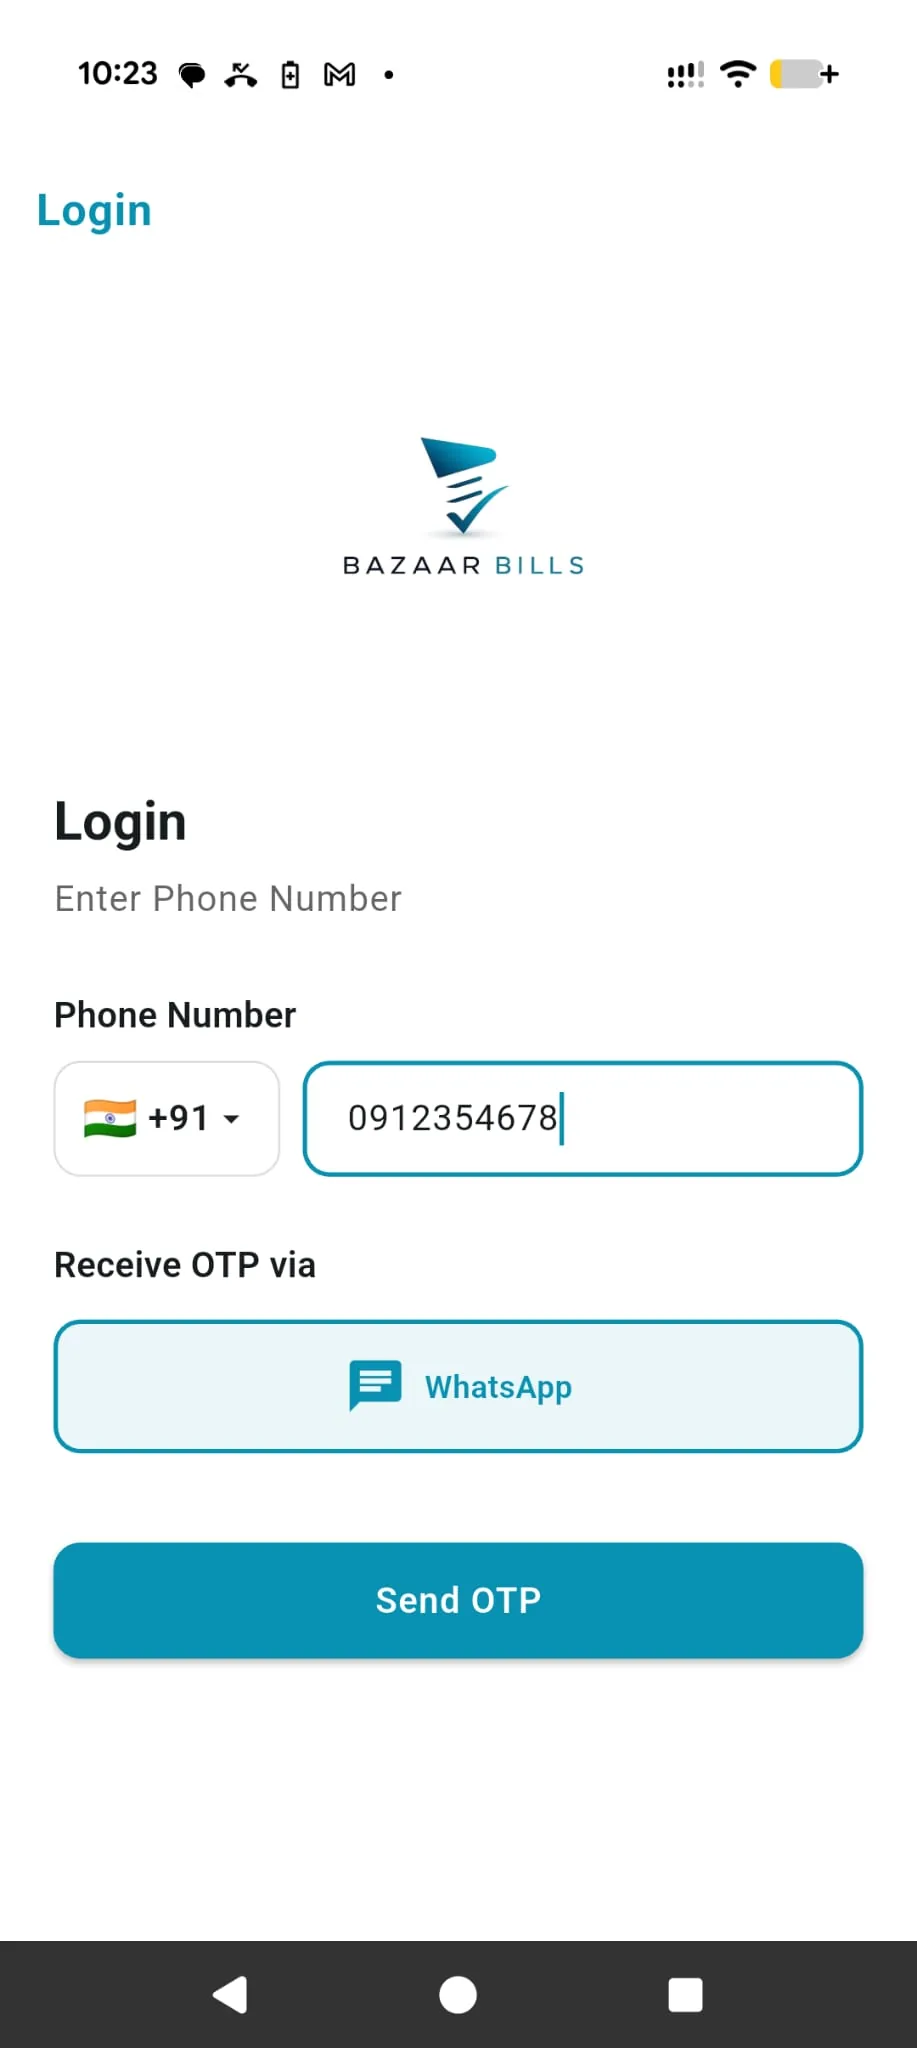
Register or LoginThis screen is shown when the business user is not logged in. Enter your mobile number to sign in or create an account.
Select the country code first, then enter the mobile number that will be used to access the business account.
OTP will be sent using WhatsApp. Keep WhatsApp available on the same number to continue.
Tap Send OTP after entering the number correctly to continue to verification.
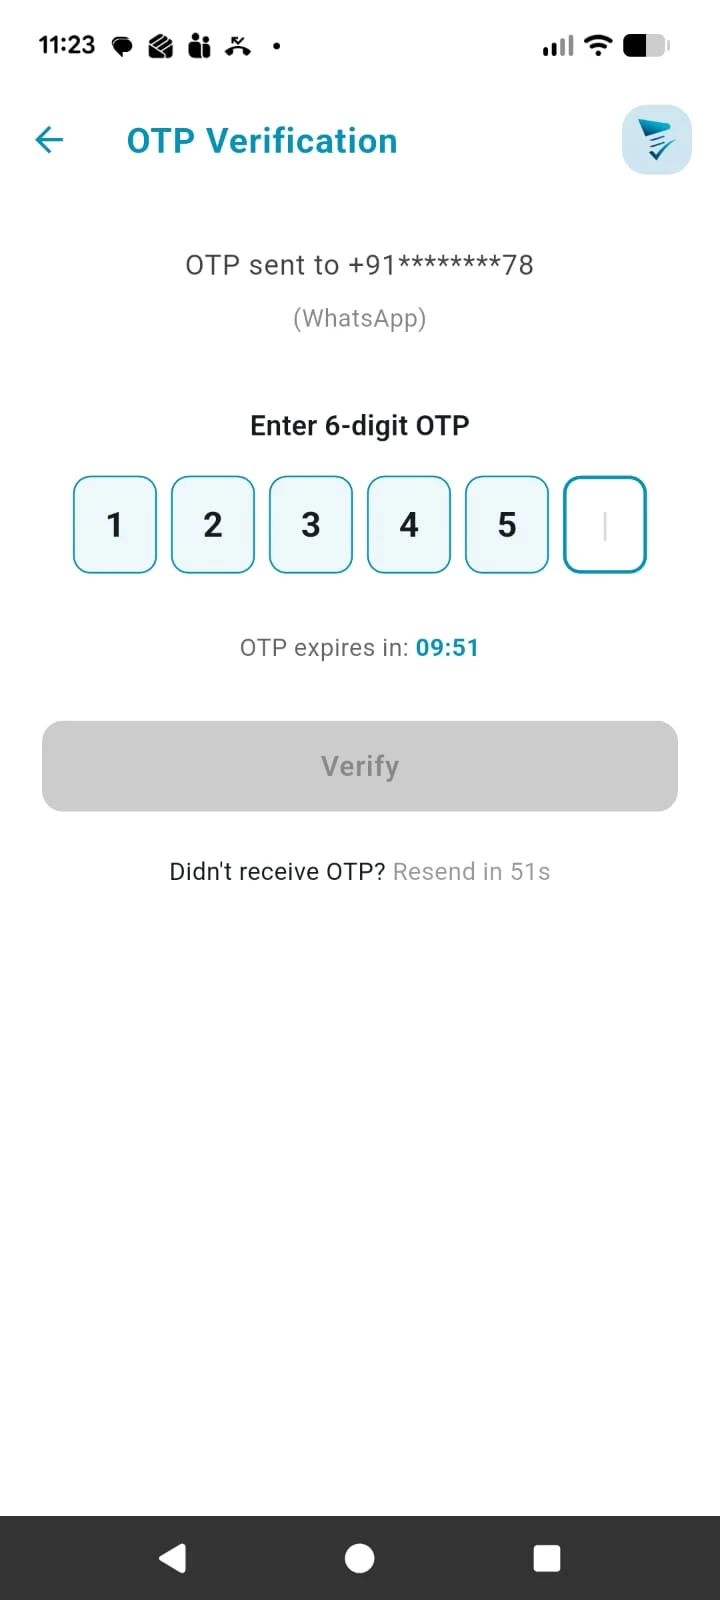
Validate OTPThis screen confirms that the business mobile number belongs to you. Enter the OTP received on WhatsApp to continue.
Enter the 6-digit OTP exactly as received on WhatsApp so the number can be verified successfully.
Tap Verify after all OTP digits are filled correctly.
Use resend OTP if the message is delayed or the earlier code has expired.
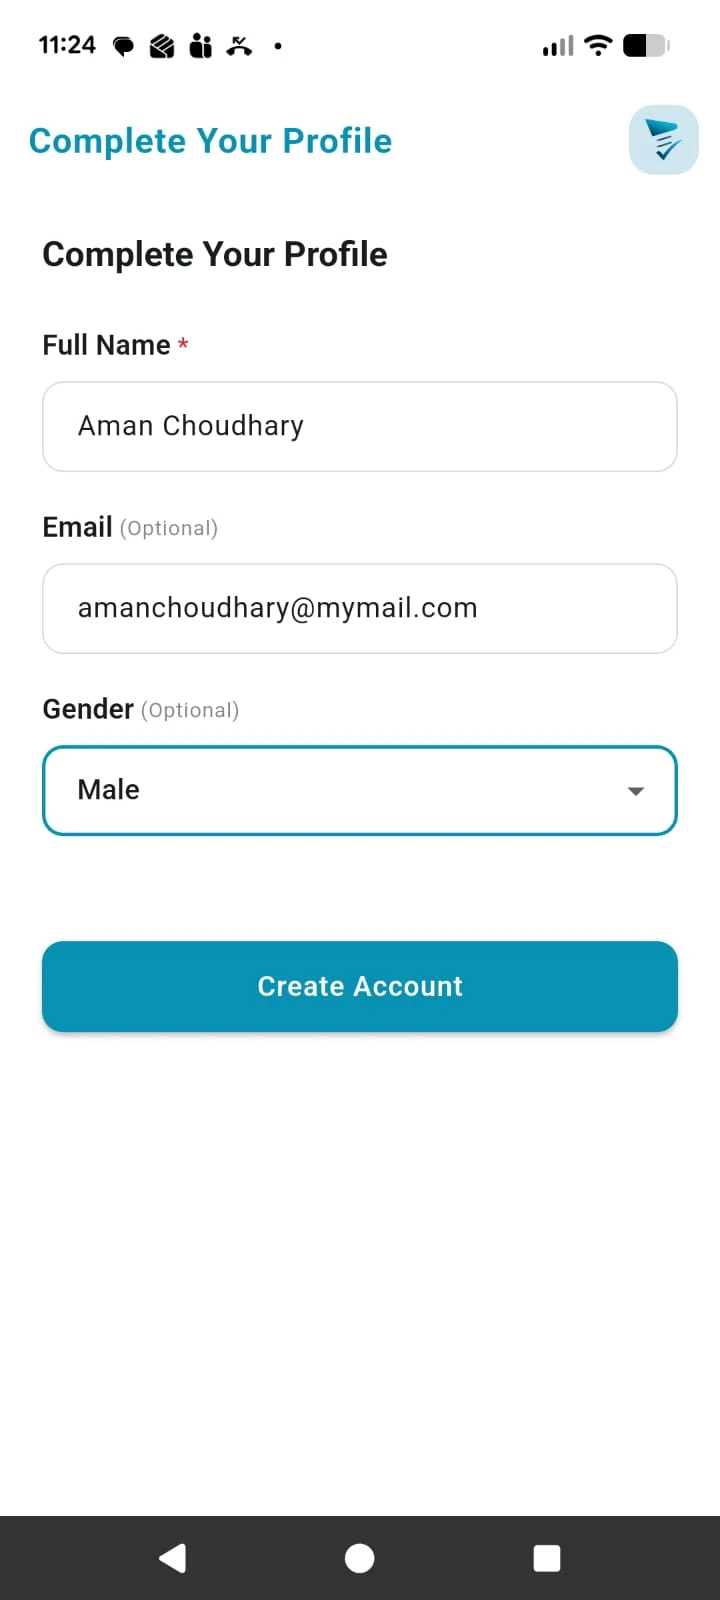
Enter User DetailsThis screen appears only during first time setup. Complete your basic profile so your business account is ready for the next setup steps. You can edit this information later from the Settings page.
Add your name. This information is displayed on the invoices.
Fill the required details shown on the form as part of your first time setup. You can edit them later from Settings.
Tap Create Account once the details are complete so the account can be created.
Add your business name, address details, tax setup, and submit the business for review.
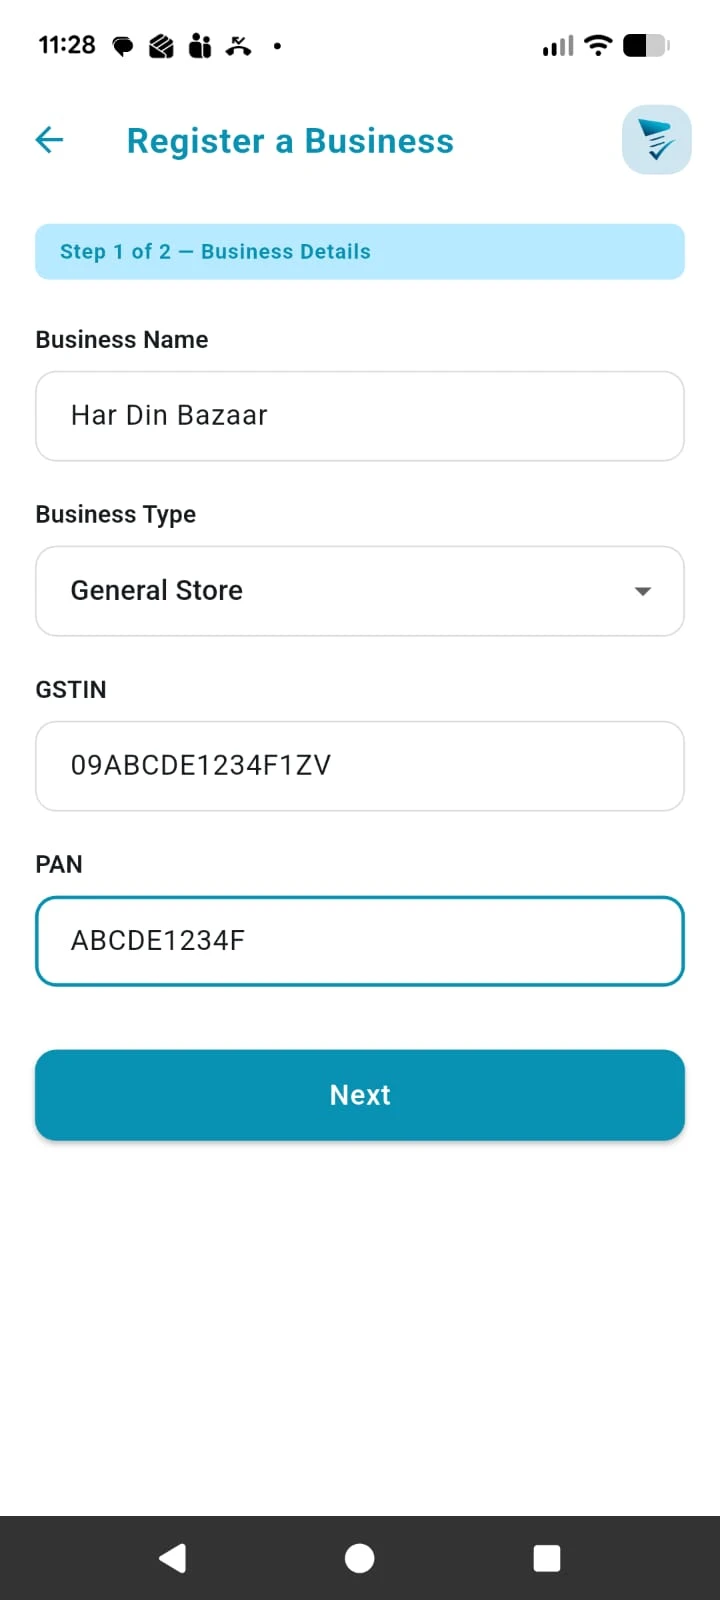
Register BusinessStart business registration by entering the business name, business type, and tax details. To register a new business, click “Register a business” from the Settings page.
Enter the name customers and staff should see for the business.
Select your business type. This is used only for classification purposes.
Add the tax information that should appear on your invoices.
Save this first part and move to business details next.
You can try all Bazaar Bills features by creating a demo business from the Settings screen. The demo business is available for 10 days only and then auto deletes. Never save real invoices in a demo business.
 Address details
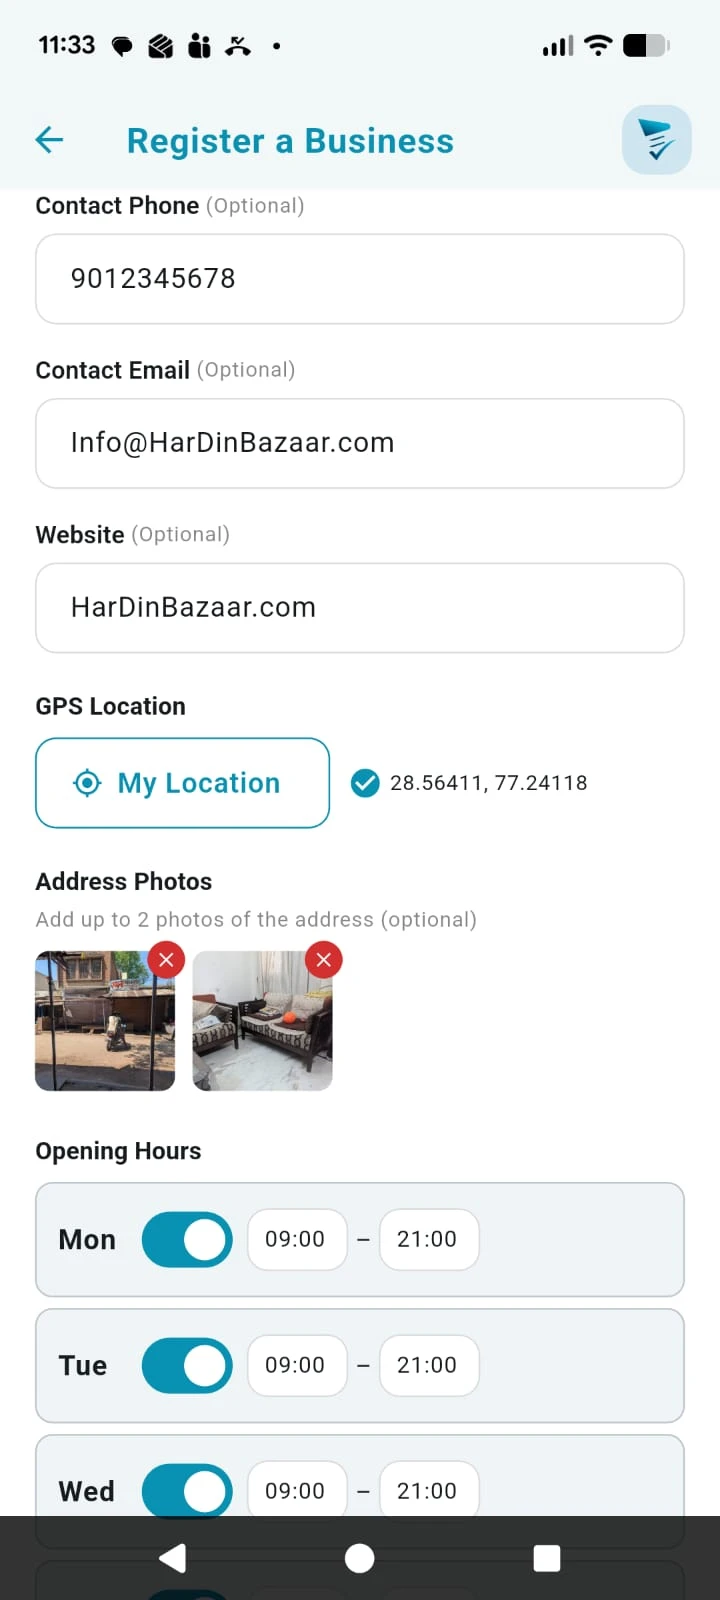 Contact and location
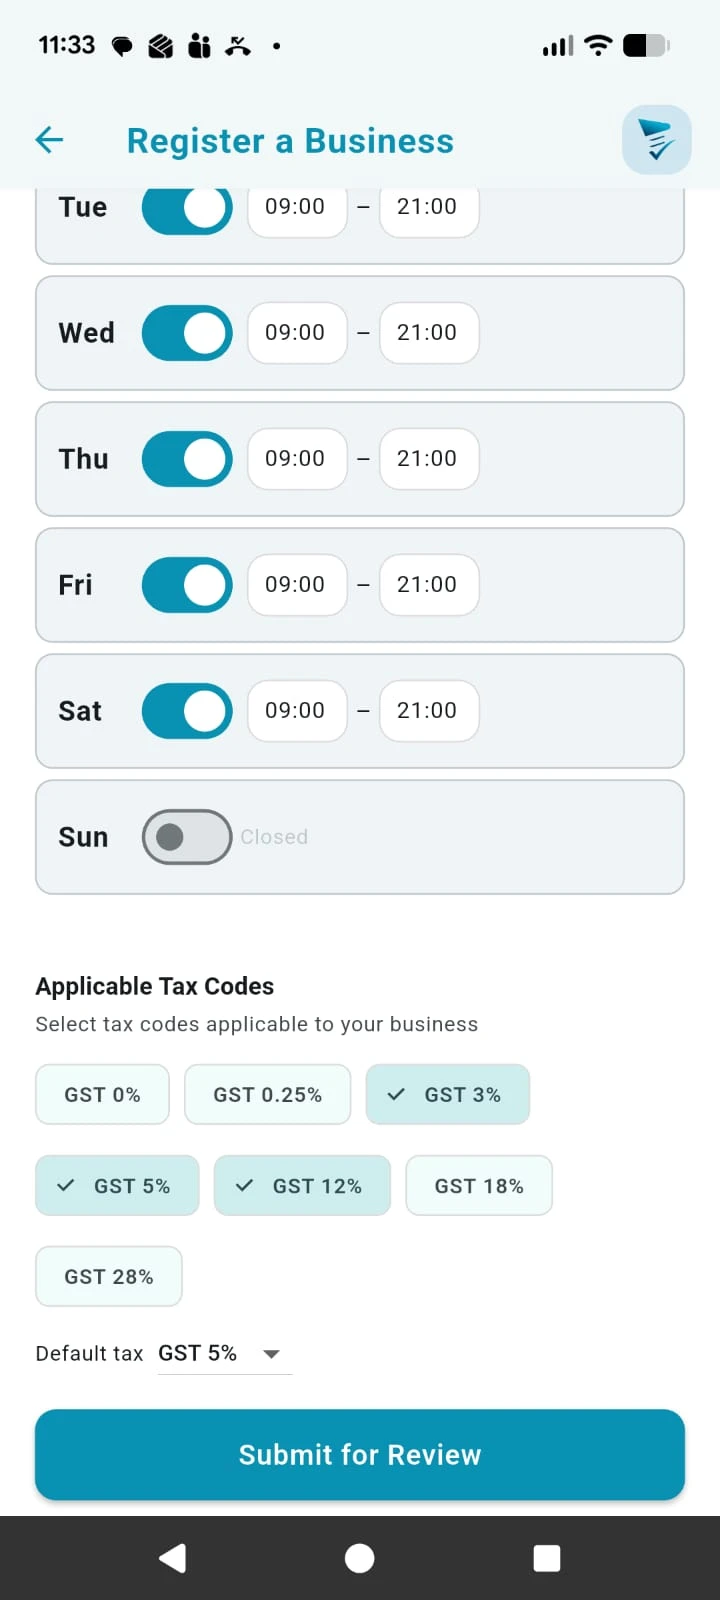 Store profile extras
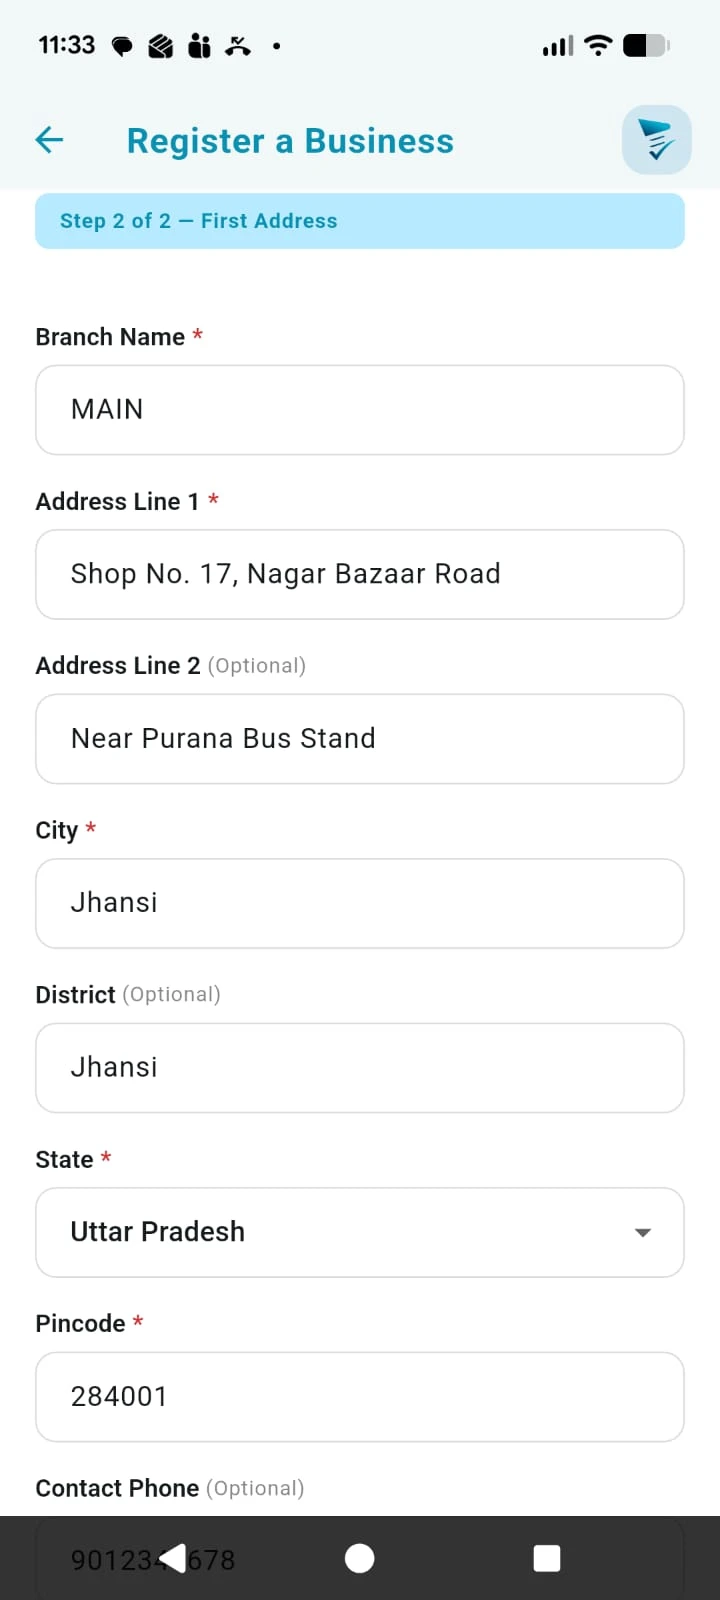
Complete your address, contact, GST, and default tax setup before submitting the business for review.
Add the business address name and address fields for this location.
Add the business contact details in one place. These fields will be used in future for customer to contact you directly.
These are future features that will help customers find your shop more easily.
Add store timings so customers can understand when the shop is open.
Select the GST codes this address will use. When creating a price list or invoice items, only these selected codes will be shown.
When a new item is added in the price list or invoice, the GST code defaults to this value.
 Review status
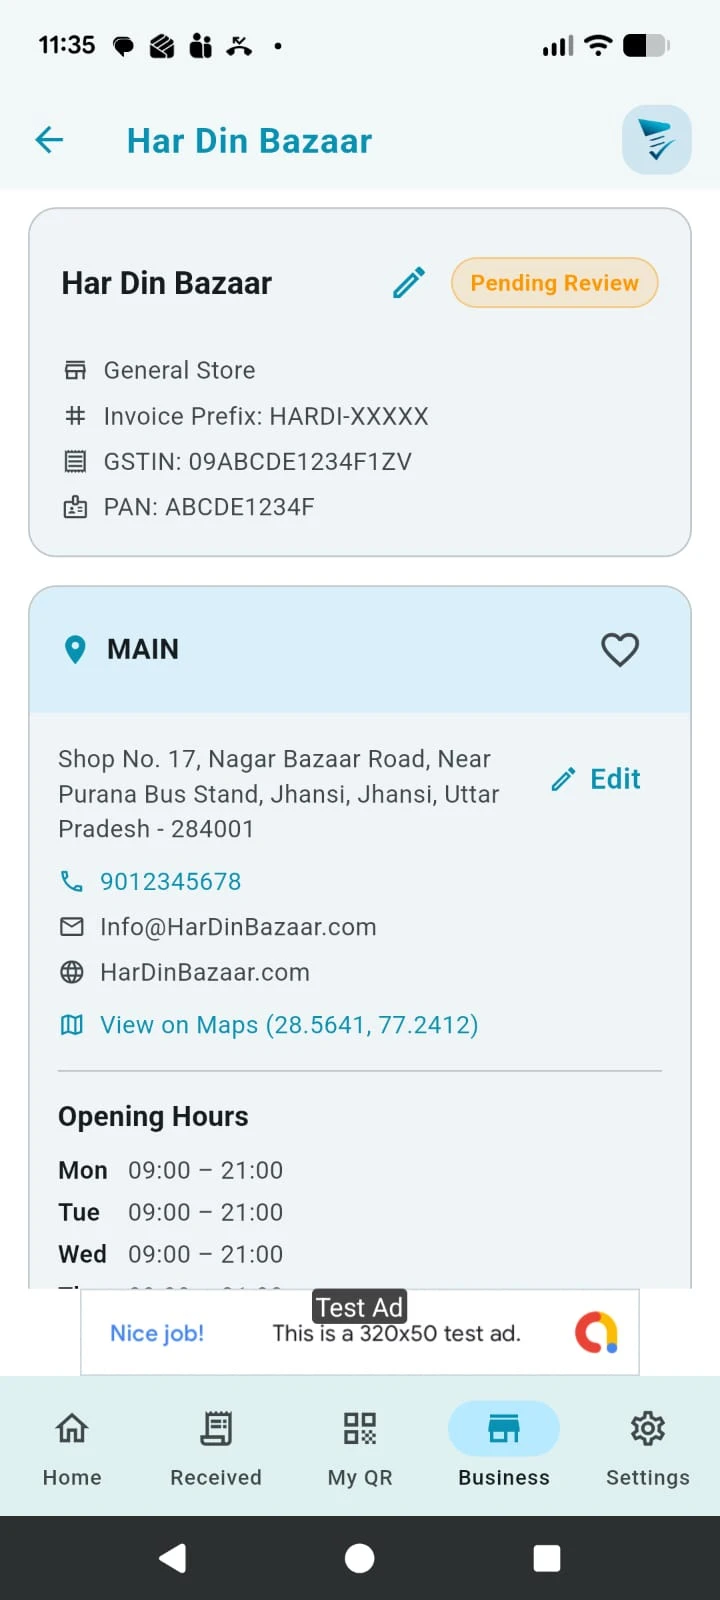 Restrictions during review
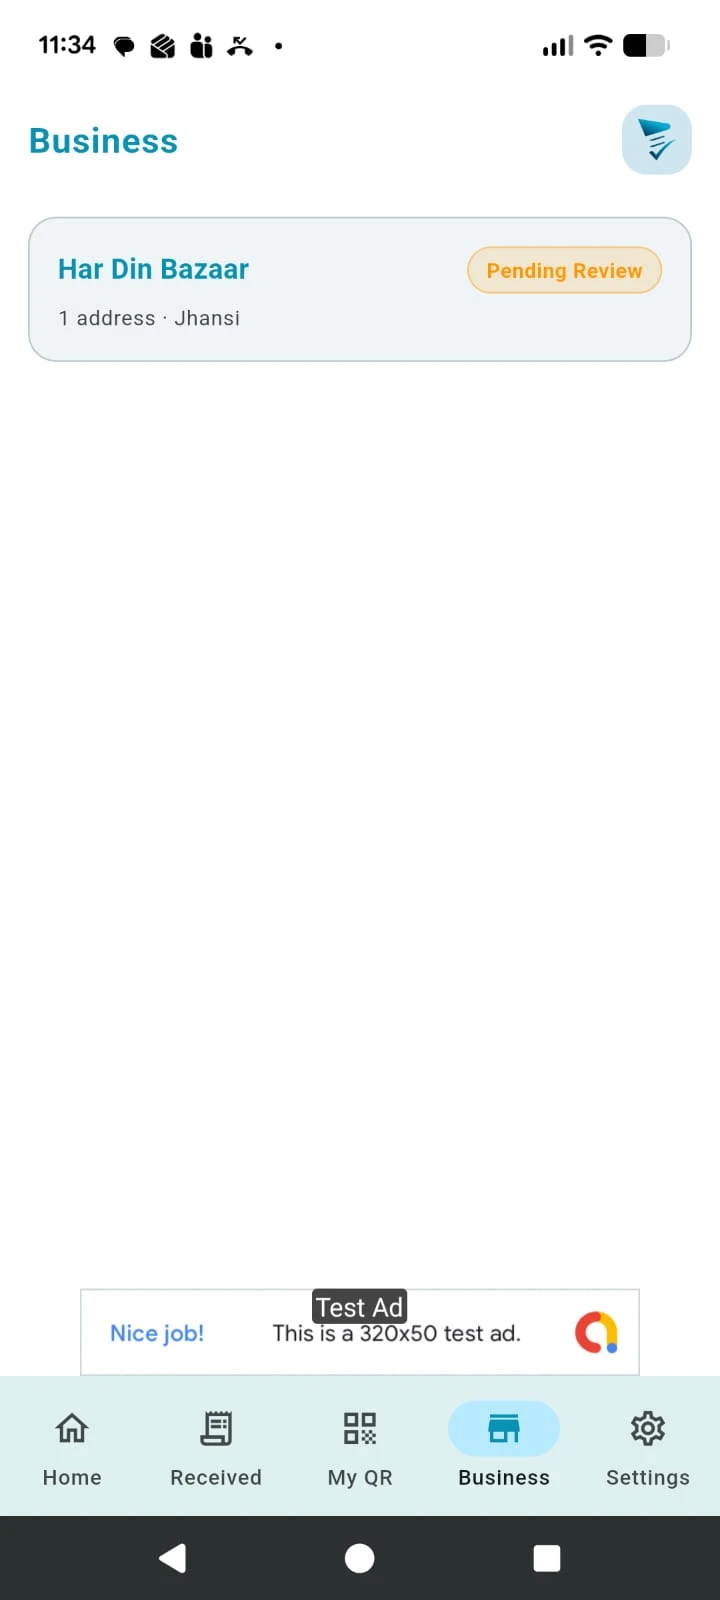
After you submit the business, Bazaar Bills reviews the details. This usually takes about two hours.
Your business stays in review while Bazaar Bills checks the submitted details.
The information supplied can still be edited if you need to correct or improve it during review.
During review you cannot add staff, UPI methods, invoices, price list items, or a new address.
If more details are needed, Bazaar Bills admin will reach out using WhatsApp.
After approval, the business becomes ready for setup actions such as UPI, staff, and business management controls.
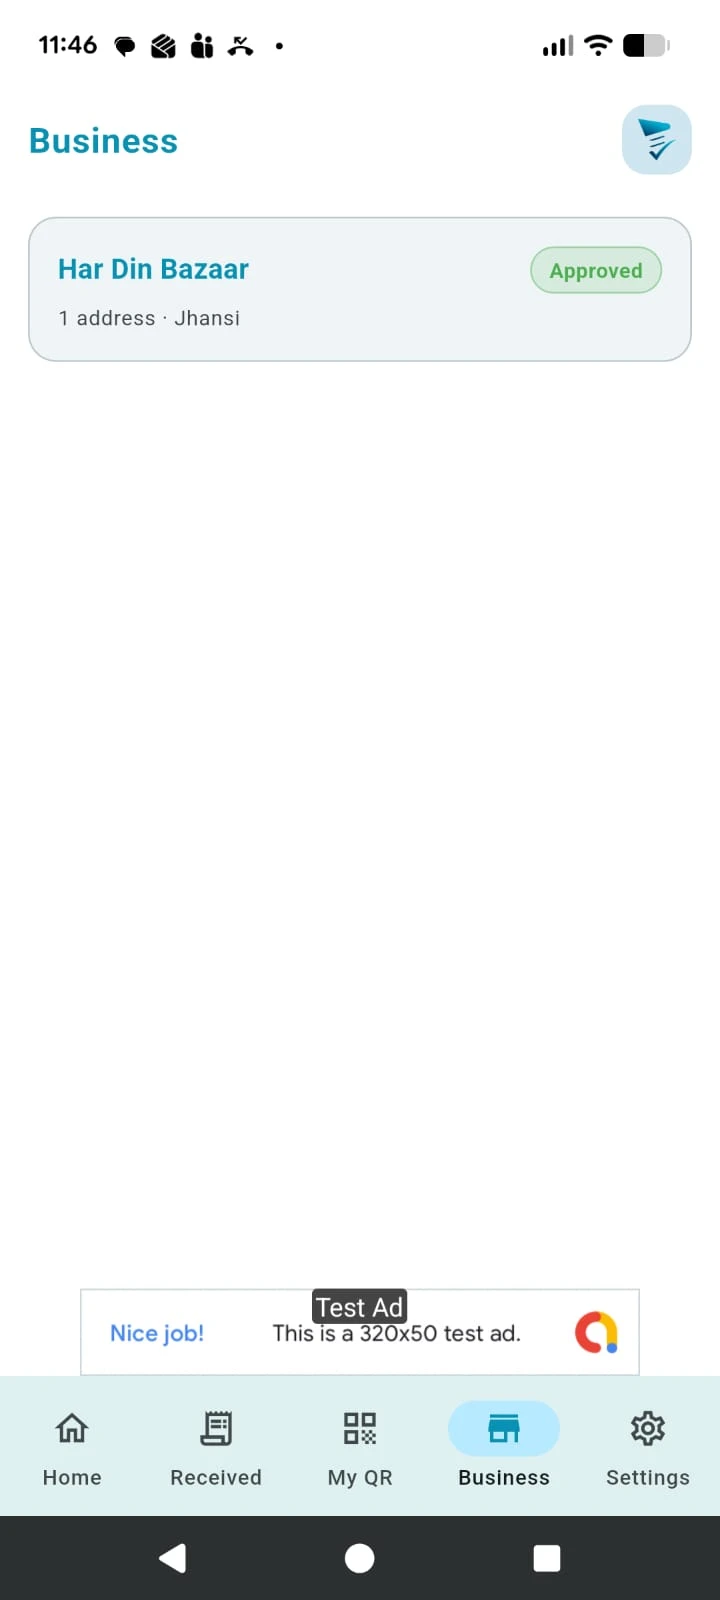 Approved business
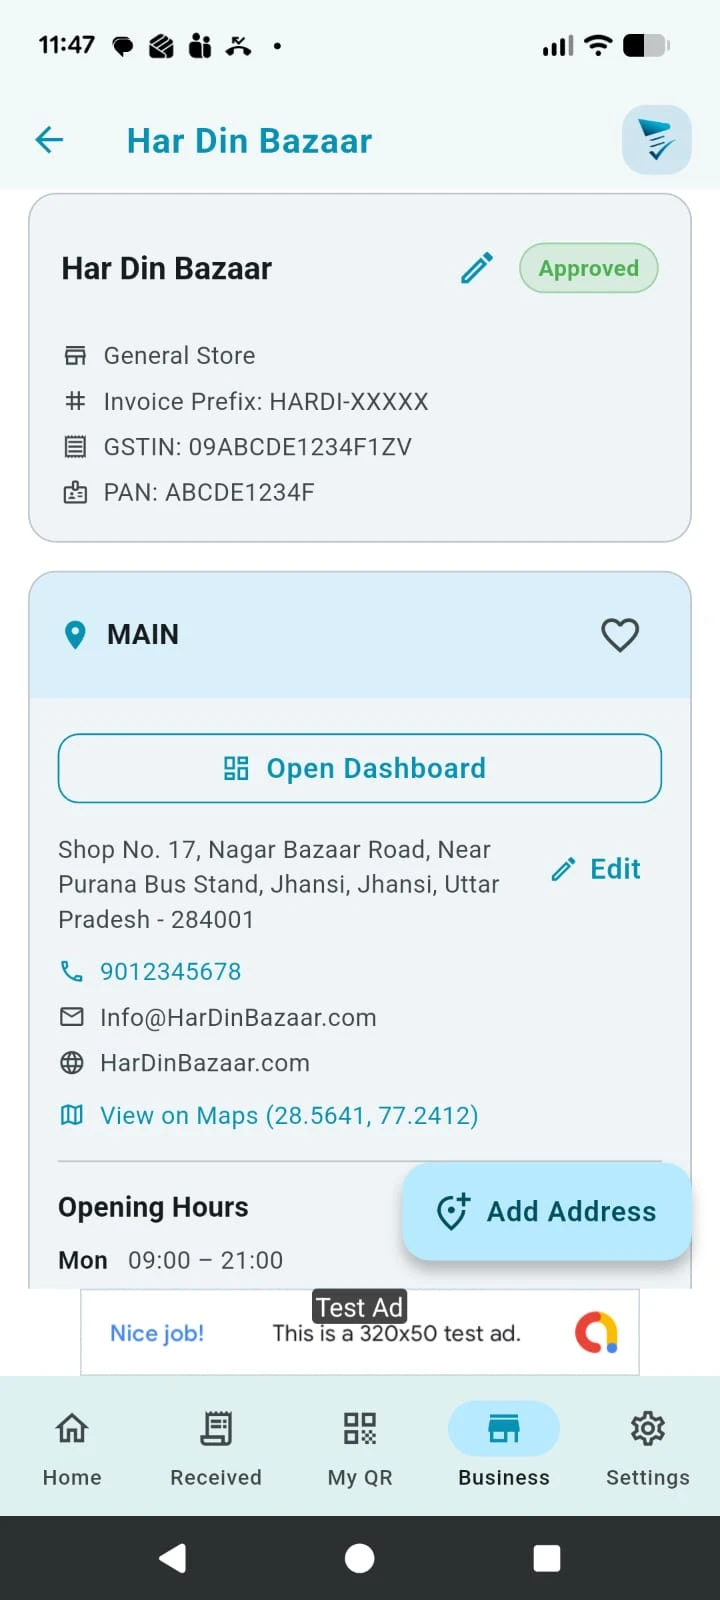 Business dashboard and details
After approval from Bazaar Bills admin, the business becomes ready for setup and daily billing.
You can define the invoice number prefix here. The invoice number sequence continues across multiple addresses in the same business.
Tap the heart icon to add this business address as a favourite on the home page for quicker access.
This is the main working area for the business, from where daily actions are performed.
Once approved, you can add UPI details, staff, more addresses, a price list, and start creating invoices.
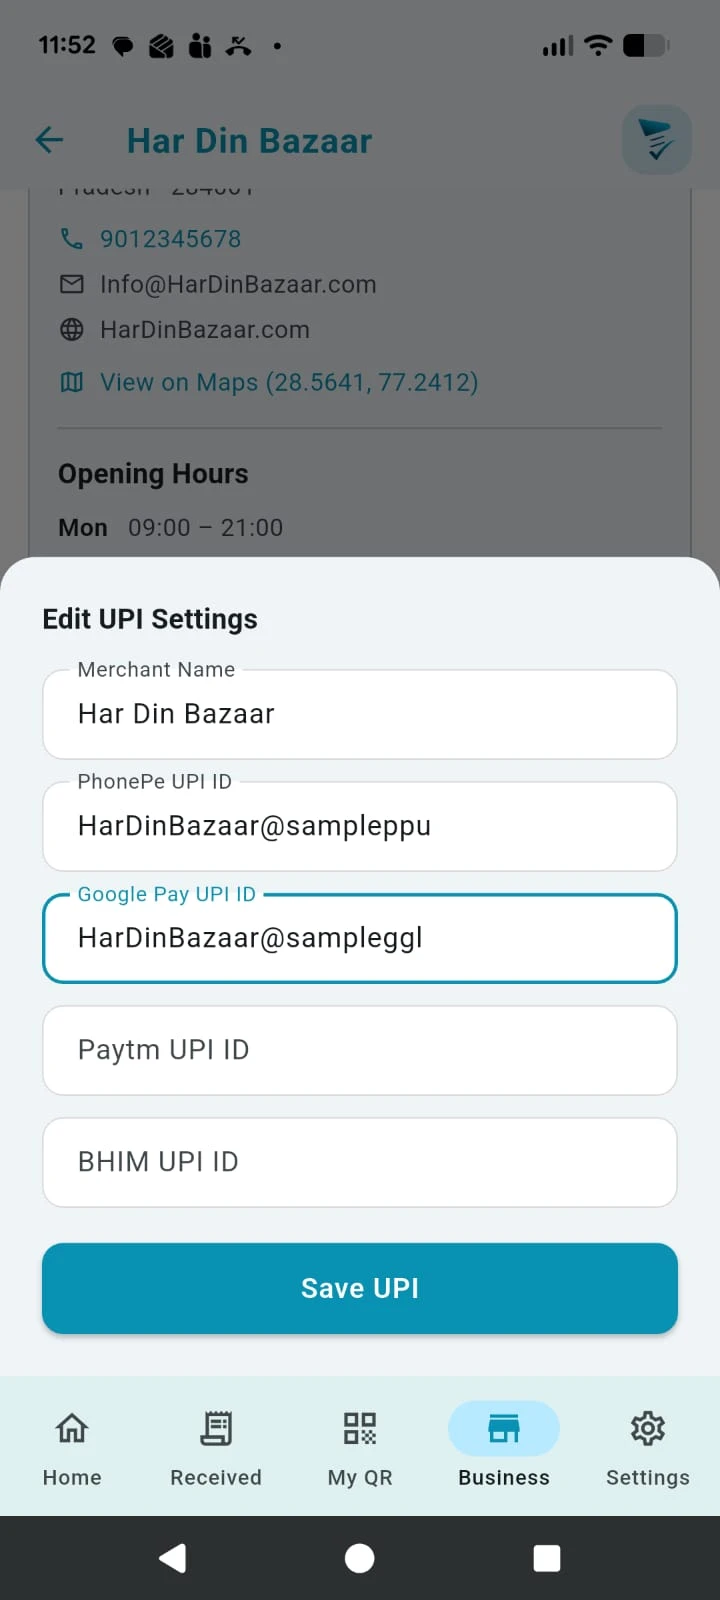 Add UPI Details
Add UPI payment details for this business address.
Enter the UPI details for this address. Currently PhonePe, Google Pay, Paytm, and BHIM UPI methods are supported.
The details entered here only generate the QR code for the customer.
On the dashboard the wallet shows QR without an amount.
On the invoice screen the QR code is shown with the invoice amount embedded in it.
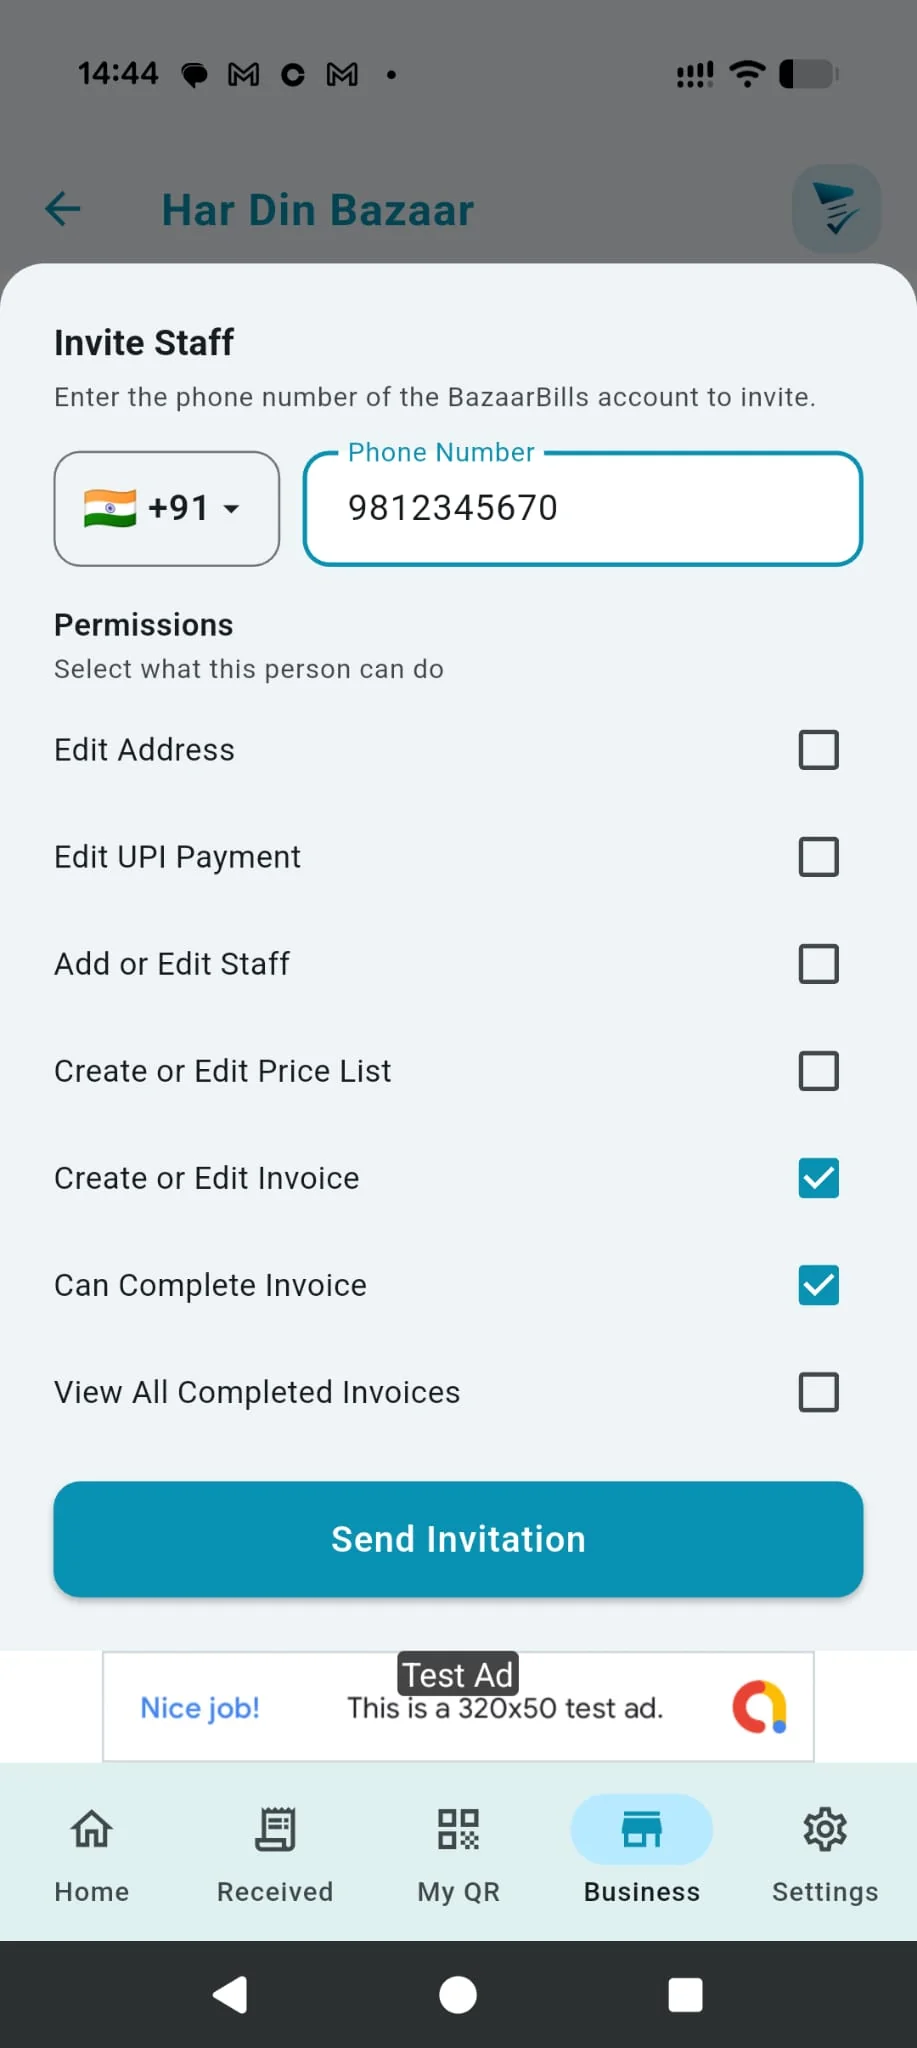 Add Staff
Add staff to your business address using their Bazaar Bills mobile number.
Enter the phone number to find the Bazaar Bills account.
Choose the permissions the staff member should receive for this address.
Send the invitation. The staff member must access the invitation to get access to the business.
Staff access is granted for a selected business address, so permissions can differ between addresses.
Create your item price list so billing stays fast, consistent, and ready even when internet is unavailable.
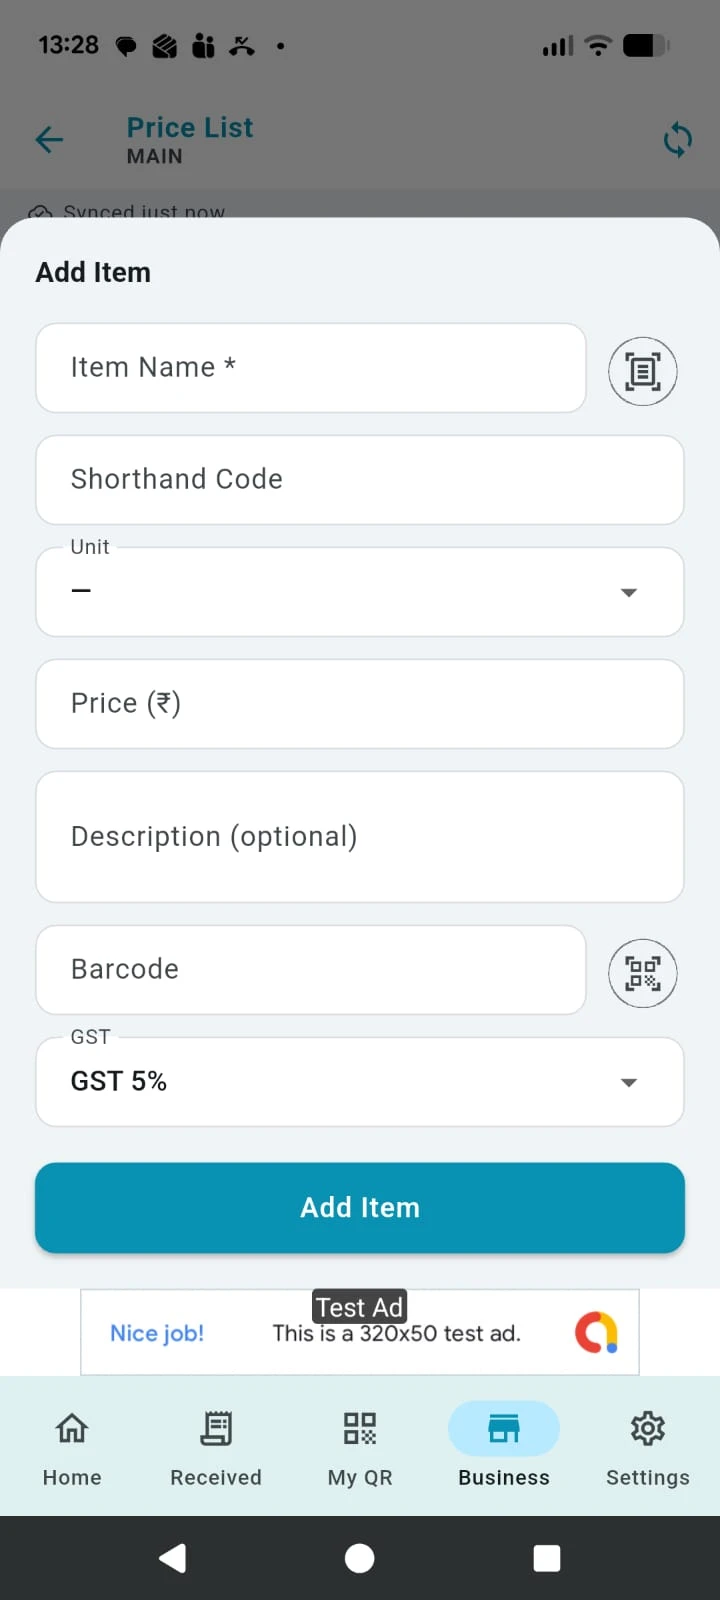 Add Item Price
From the Dashboard, open Price List to add a new item. Use this screen to create or edit item pricing for the selected address.
Enter the item name manually or use the scanner icon to take a product name picture. The item name is searched while adding invoice items and is also printed on the invoice.
Add a short code for faster entry. When creating invoice items, this text is also searched, which makes item selection faster.
Select the item unit such as piece, packet, bottle, or kg so item quantity stays clear while billing.
Enter the selling price that should default when the item is used in an invoice.
Use description to add extra item details.
Adding a barcode makes adding items to an invoice much faster.
The GST value defaults based on address setup. The list shows only the limited GST values allowed for that address.
Save the item after completing the details so it becomes available in the price list and invoice search.
The user must have the “Create or Edit price list” permission to add items.
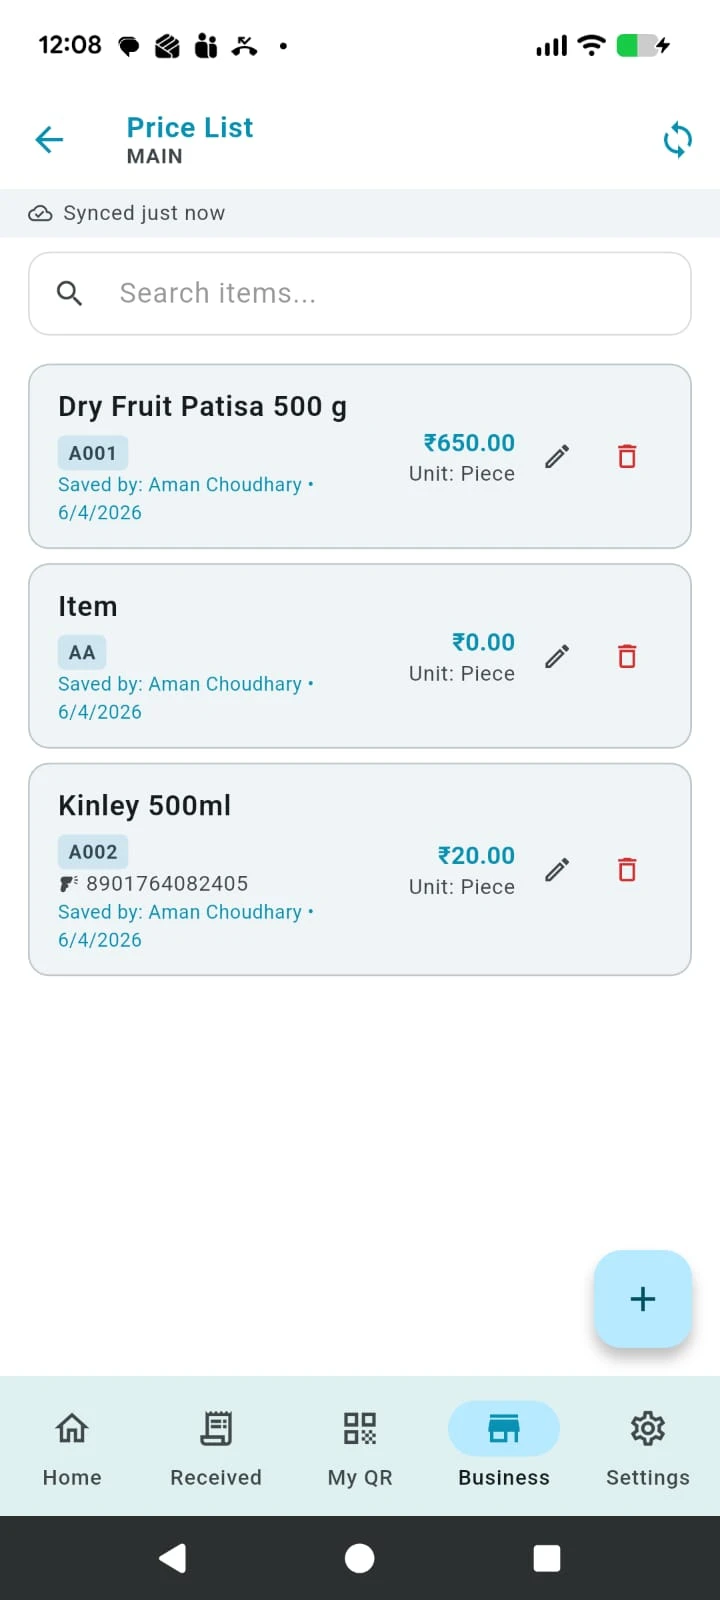 Review Price List
Review all saved items in the price list. Bazaar Bills keeps a cloud copy and also stores the list locally on the device for offline usage.
The price list is stored locally on the device, so billing can continue even when there is no internet.
The message on the top row shows that changes are pushed to the cloud and also saved on the device for offline usage.
All users associated with the address can refresh and sync the price list for that address, even if they do not have permission to create or edit the list.
Create invoices from the dashboard, add items quickly, link the customer, and complete the bill with payment-ready details.
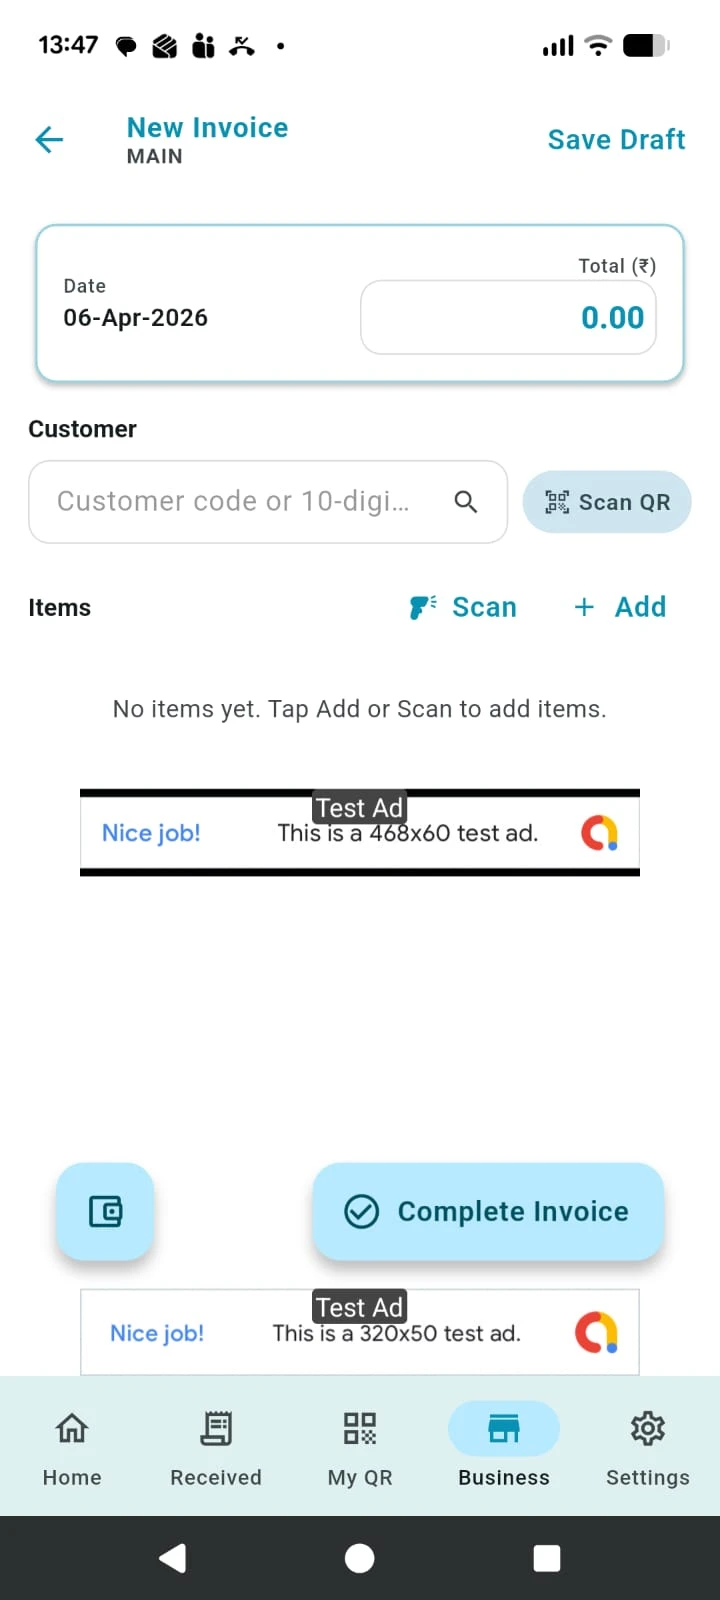 Create invoice
Start invoice creation from the Dashboard and then move into item entry.
Start this flow from the Dashboard. Use the create invoice option shown there.
Open a fresh invoice for the current customer sale.
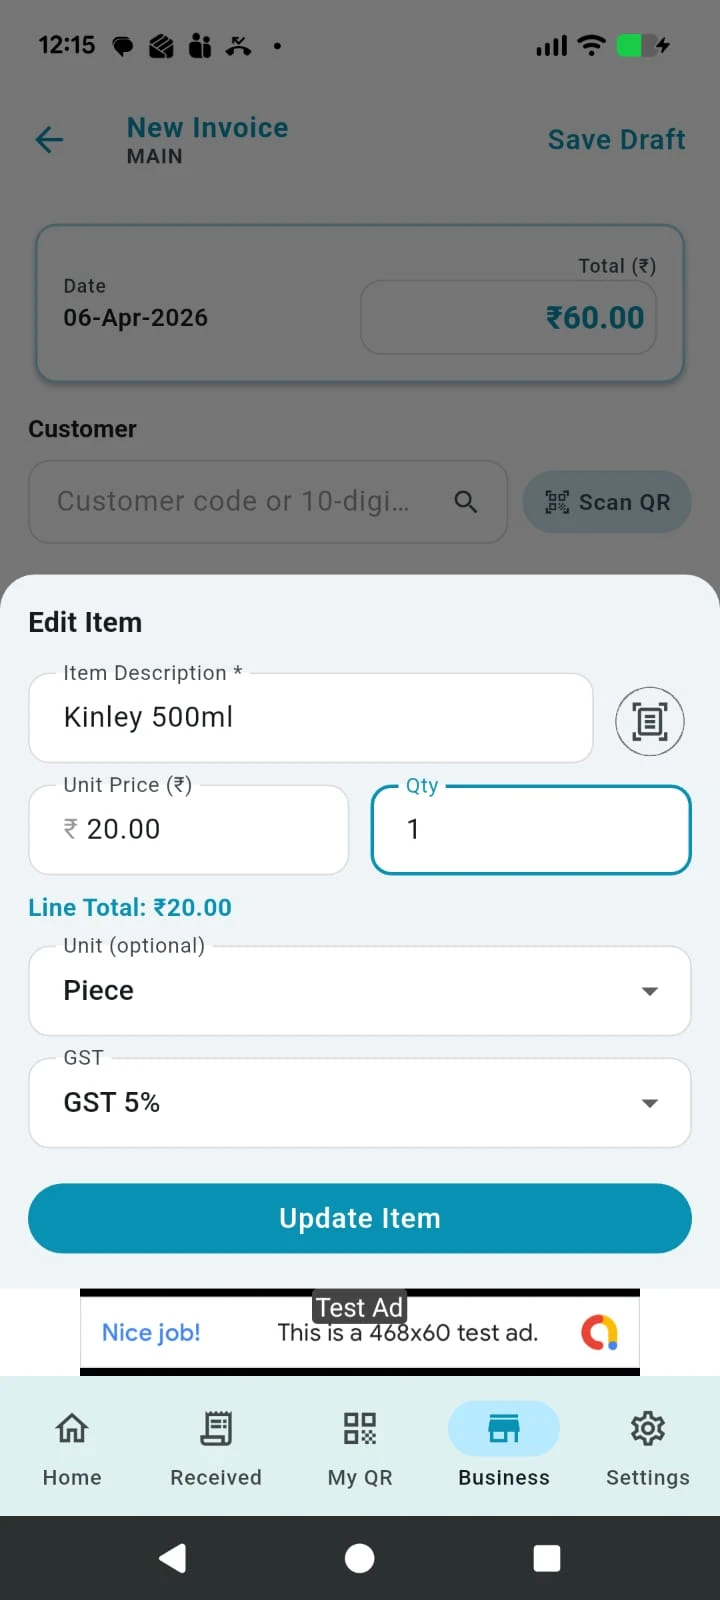 Edit quantity
There are several practical ways to add invoice items, and you can also adjust quantity and item details before saving the invoice.
Use barcode scan in continuous mode when the price list is properly set up. Price, unit, and tax default from the price list, and these can still be changed in the invoice.
Type the search text to find items from the price list. This searches the item name and shorthand code. Price, unit, and tax default from the price list and can still be changed in the invoice.
Add any item that is not in the price list. In this case, the user needs to complete the unit and price manually.
The name reader camera can be used anytime while adding an item.
Quantity usually needs editing if it should be anything other than the default value.
 Adjust total
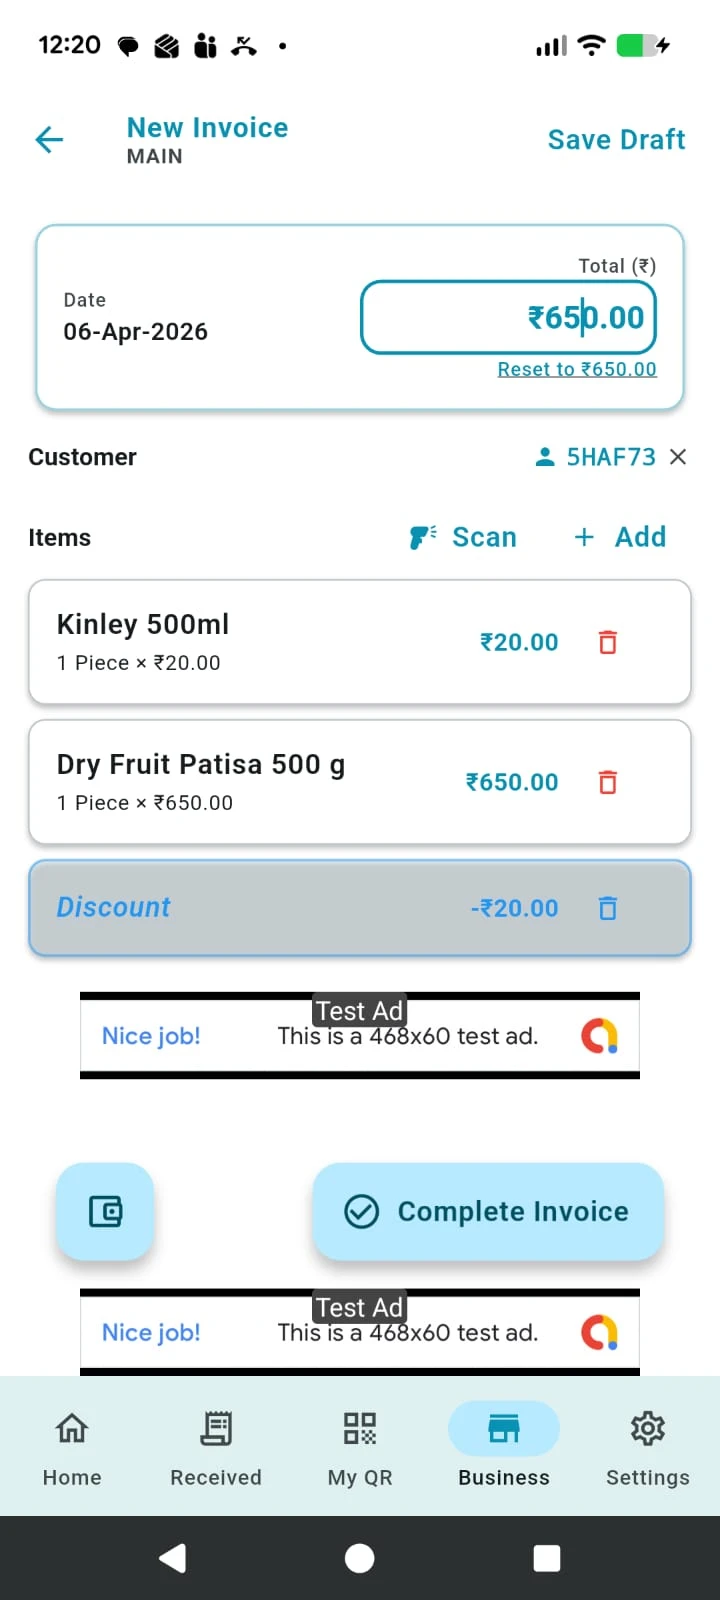
Customer details, discount handling, draft save, and wallet QR options are all handled during invoice creation.
Customer QR code: If the customer uses Bazaar Bills, either scan the customer QR code or enter their share code.
Phone number: Entering a phone number immediately sends a WhatsApp message telling the user that their invoice is recorded in Bazaar Bills and that they can install the app to access it.
Leave blank: Leave the customer field blank for a walk-in customer.
If the customer asks for a discount, changing the total amount creates an adjustment line automatically.
The wallet option displays a QR with the amount embedded in it for payment collection.
Saves the invoice and shares with customer.
Save the invoice as a draft when you want to complete it later. All users within this address can view draft invoices, even without permission to view all completed invoices.
When completing the invoice if there is no internet, the invoice is added to the upload queue. Offline invoices do not get an invoice number immediately. Once the device reconnects, the invoices upload, an invoice number is generated, and a notification is sent to the customer.
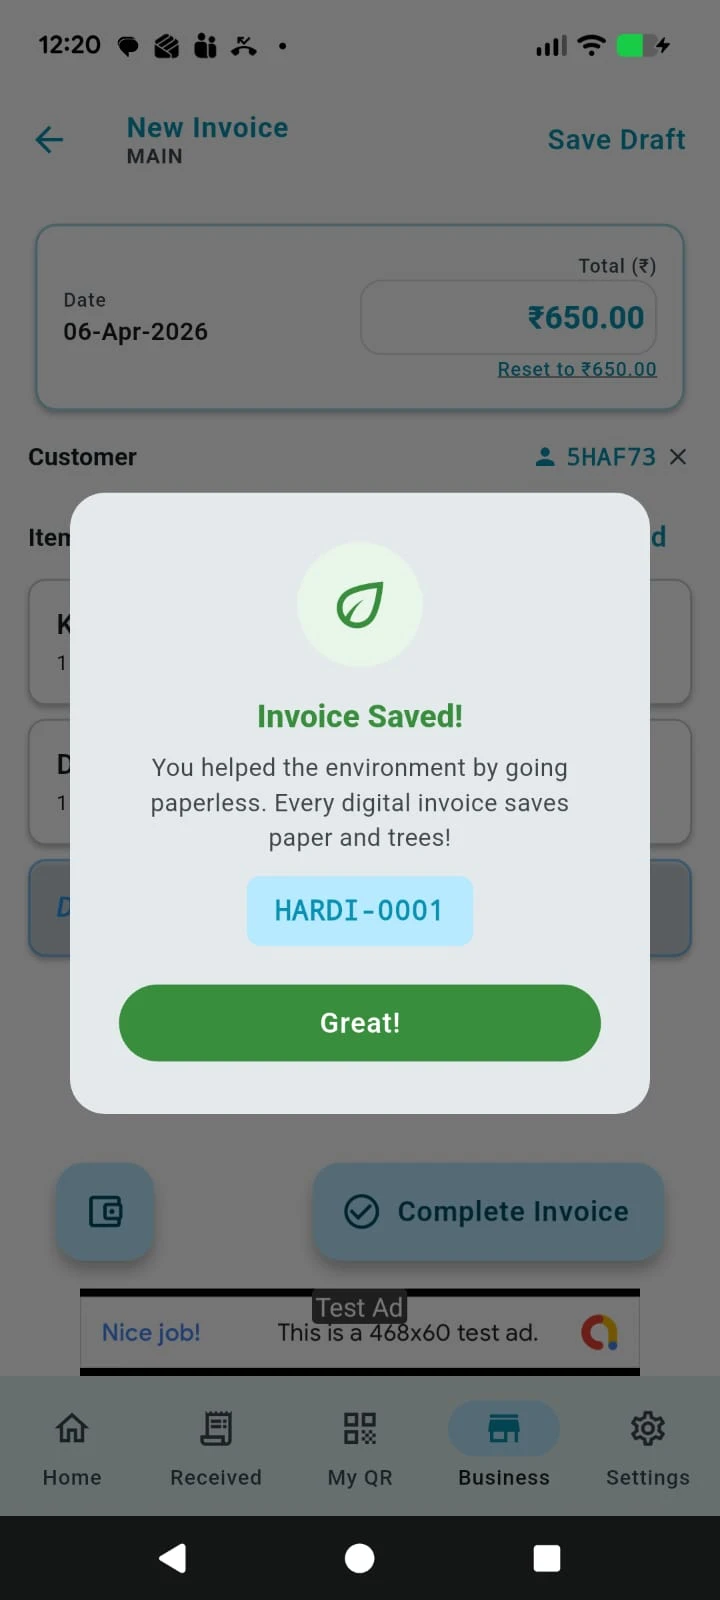 Complete invoice
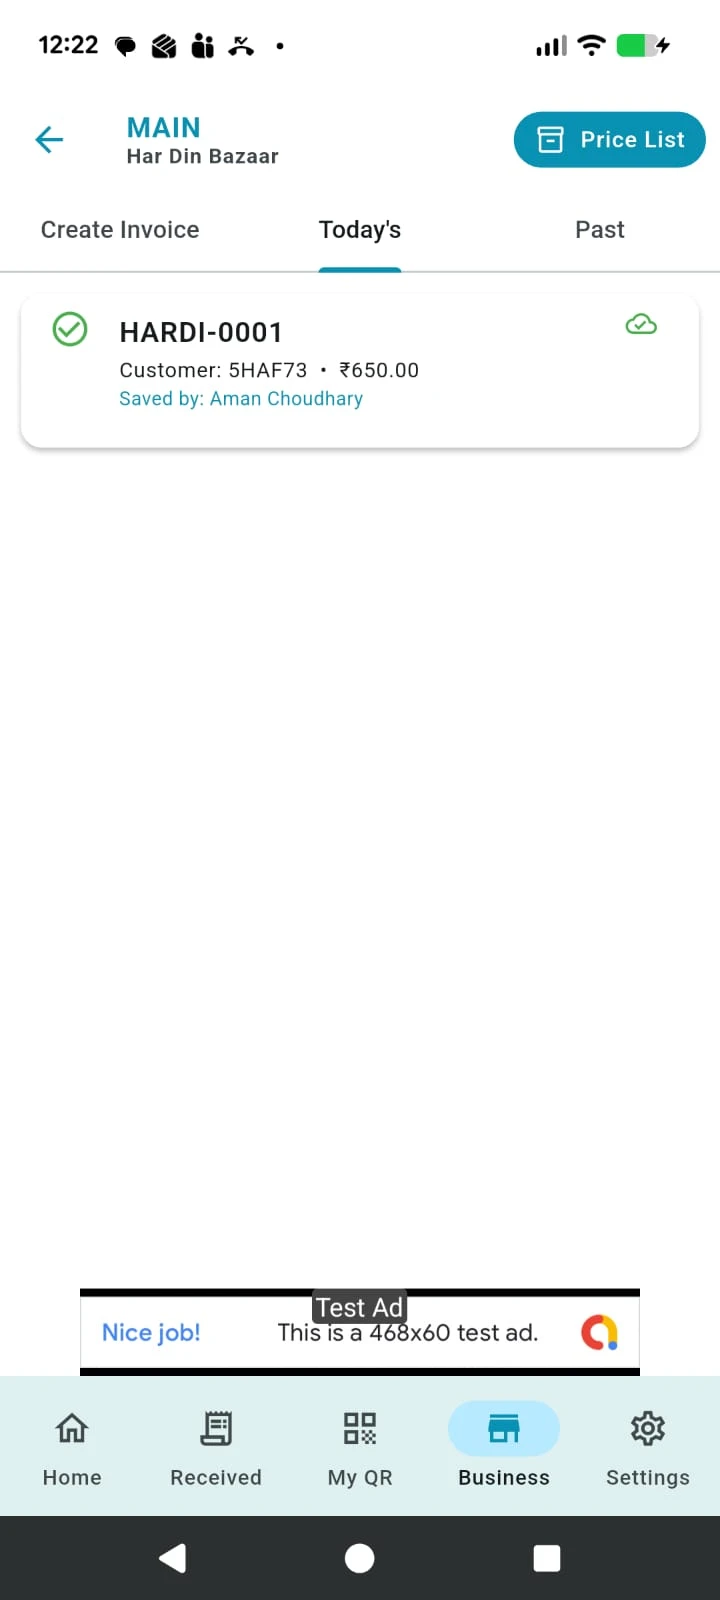 Today's tab
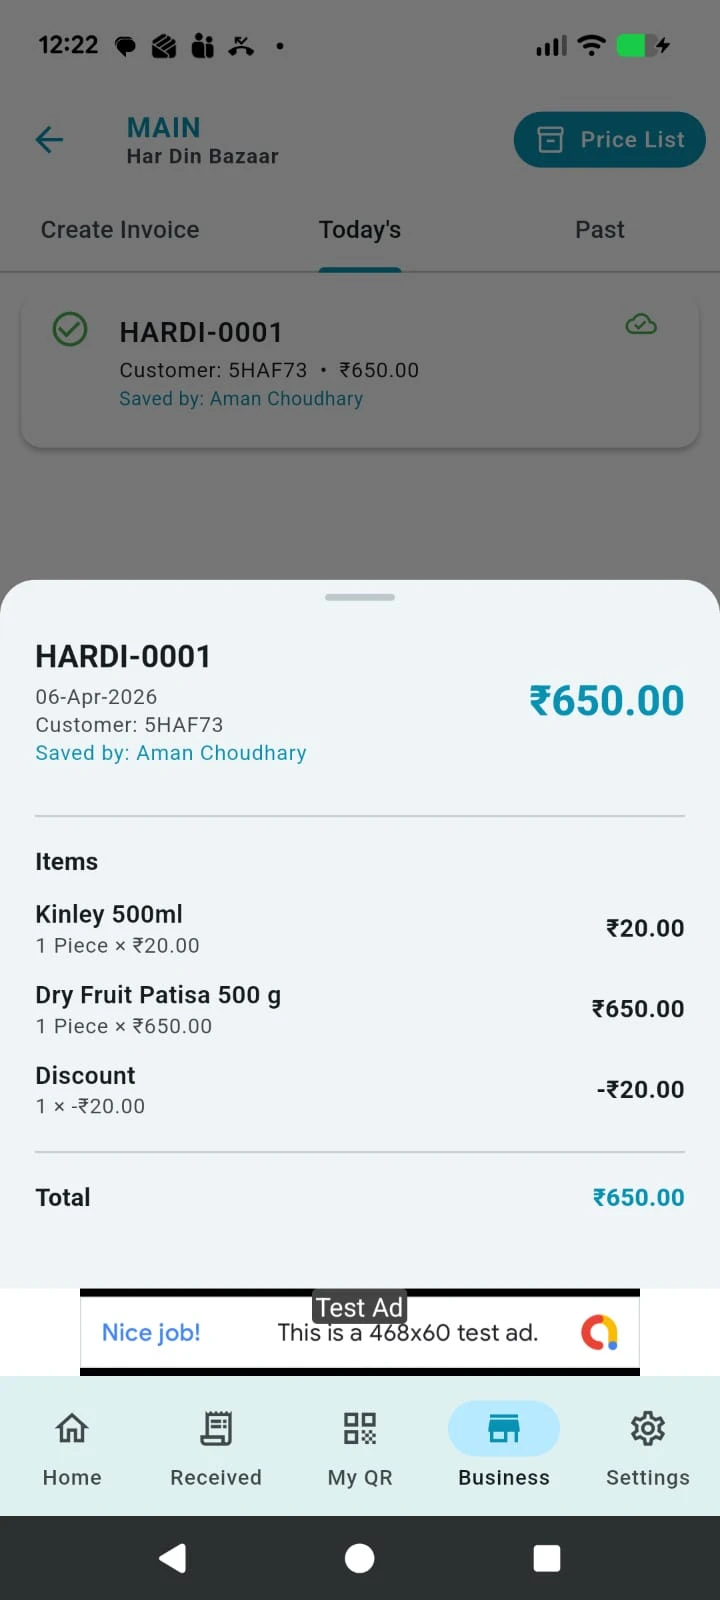 Invoice details
Completed invoices can be reviewed from the business account after they are saved.
Finishing the invoice records it under the Today's tab and also shares it with the customer when customer details were provided.
Users with permission to view completed invoices can see the recorded bill in Today's tab.
Open the completed invoice to review the full recorded details later.